Final Brews of 2021: Maple Brown Ale and Ch² Milk Stout

I know, it’s been a while. 2021 has just been, I don’t know, an extension of 2020? However, despite a lot of things going on, we have managed to brew some final batches to close out the year. So here is a quick breakdown of batches 5 and 6, with some extra surprises along the way!

Wait, you brew beer at home?

Oh, we sure do. You can find a walkthrough of our first batch (which explains all the steps of brewing) in my series of posts on “Brewing for Beginners:”

  1. Brewing for Beginners – Part 1 for the making of the wort
  2. Brewing for Beginners – Part 2 for an update on the fermentation
  3. Brewing for Beginners – Part 3 for the bottling process
  4. Brewing for Beginners – Part 4 for the best part of all: tasting!

I can hear you asking, how did batch 4 turn out?

While usually not a huge fan of IPAs, mostly because of an abundance of supply (I may have written a song about that), our hazy juicy IPA turned out to be our best brew yet. Keeping a constant temperature during brewing (and a heatwave), definitely paid off! It’s almost as if more experience yields a better outcome, who knew?

It had a pretty great head on it, was easy to pour, and was beautifully refreshing on a hot summer day.
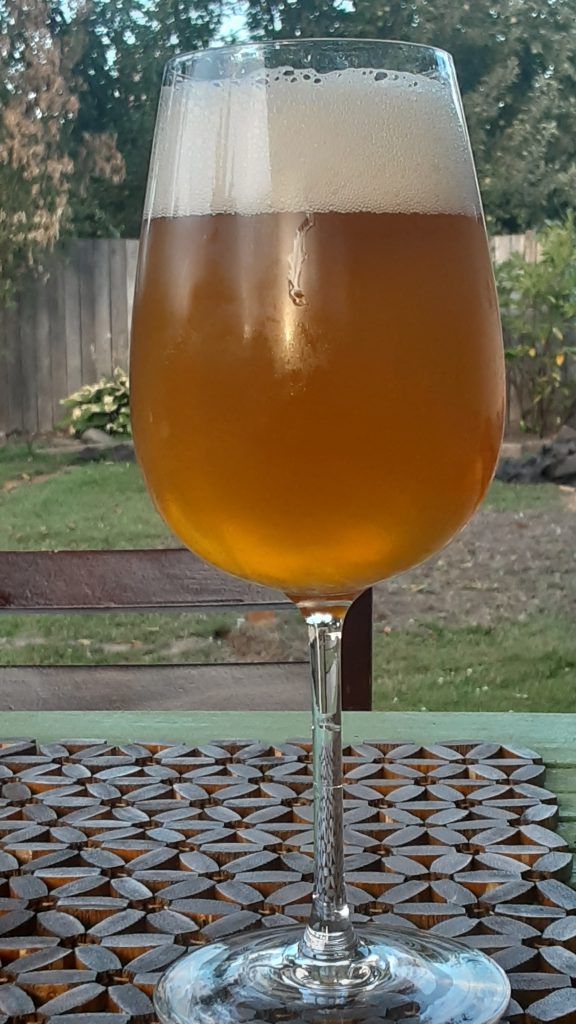
Glass of beer, hazy light brown in color, with about an inch of head.
Just look at this beut.

Little did we know, that this would be the last of our bottled beers, because A. decided to invest in… a Kegerator.

What is a kegerator and why I’m stoked we have one!

Instead of spending a day bottling beer, thanks to a chilled box in which we can put a keg and directly tap from – or: “a kegerator” – we can skip that very annoying step! In addition, it has some other really fun perks!

1. Instant Carbonation

As I said, no need for bottling, or adding extra sugar at that step for carbonation purposes. No, just hook it all up to a CO₂ tank and that will take care of carbonation. Oh, you like nitro? We can do that too!

For clarity, it’s not instant and takes a week or so before all nice and bubbly. But still beats bottling!

2. Stickers!

It provided a huge white space upon which stickers could be added! Well, there’s not that much space left now…
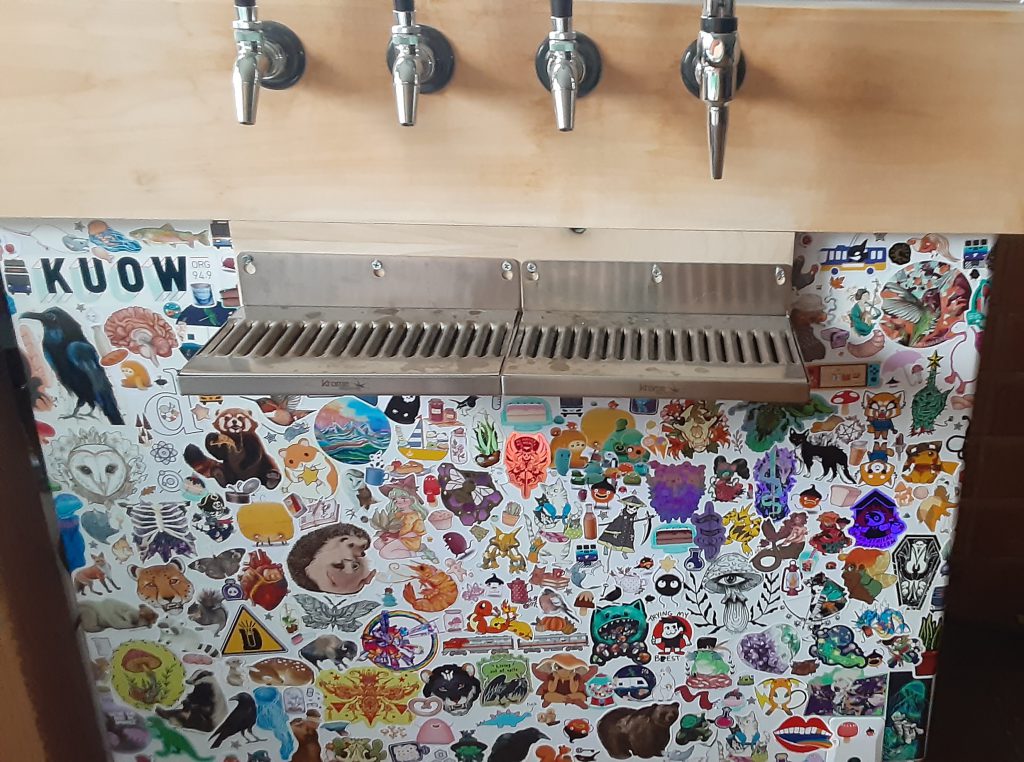
Photo of a kegerator with 4 taps, a drip tray, and a fridge part covered in stickers.
This is only a quarter of our sticker collection…

3. Life handed us some lemons

And you know what that means, make lemonade! Basically, anything can be carbonated this way, including ginger beer, lemonade, water, or water put into a keg that previously had lemonade so it tastes slightly lemony. No LaCroix in our home!
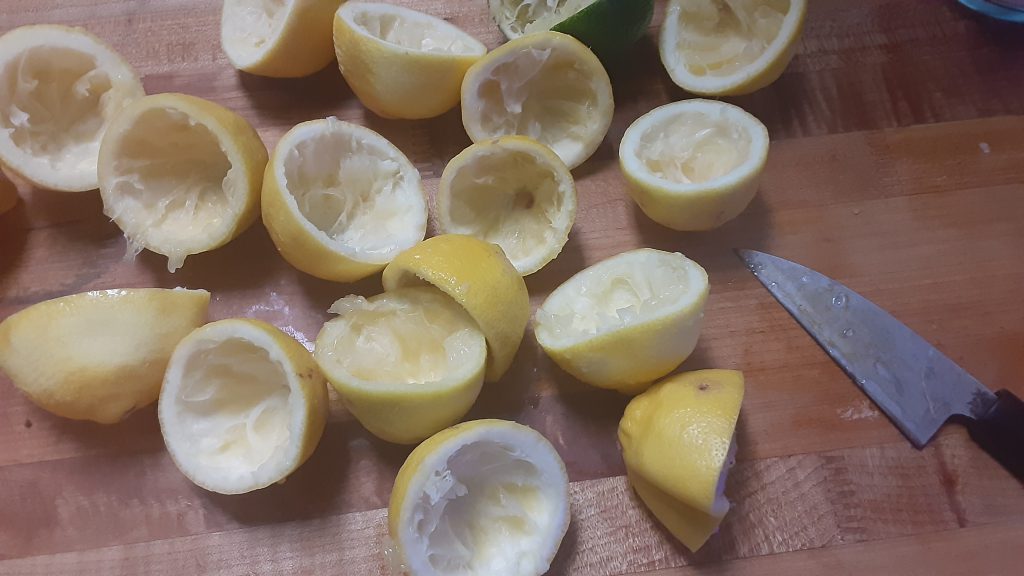
Photo of lemons that have been squeezed.
“You say I must eat so many lemons because I’m so bitter!”

4. Tapping is just fun

Tapping is just a lot more fun than pouring out of a bottle if we’re honest.

Batch #5: Maple Brown Ale

In October, we embarked on our next brewing adventure, a Maple Brown Ale (see recipe at the end of this post), getting some beautiful darkness with Chocolate malt. While, unfortunately, the maple didn’t quite come through in the taste as much as we’d hoped, it still came out tasting excellent and light (ABV 4.99%). The spent grain we had was also quite excellent. I’ve become quite skilled at spent grain pistolets and waffles if I say so myself!
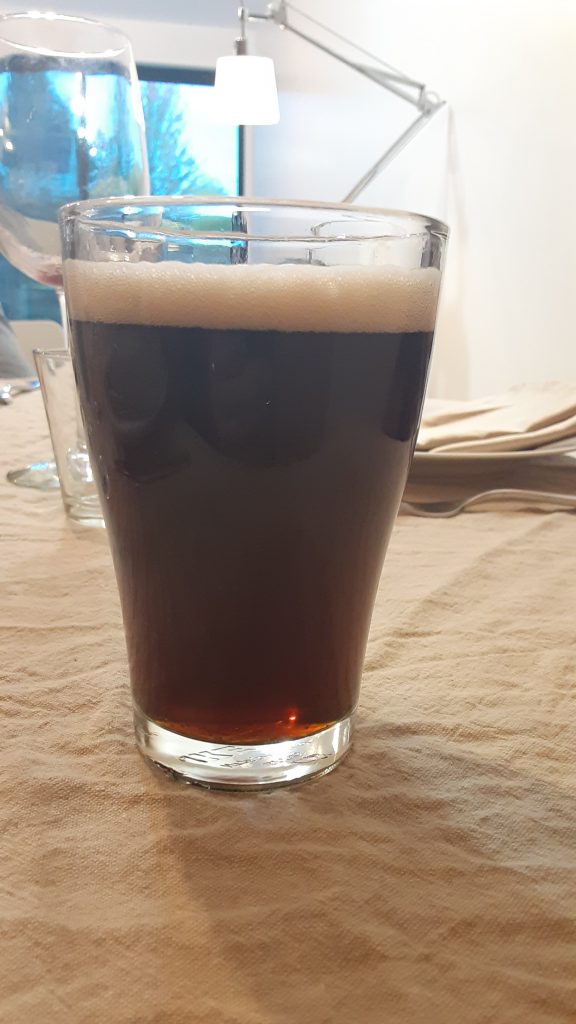
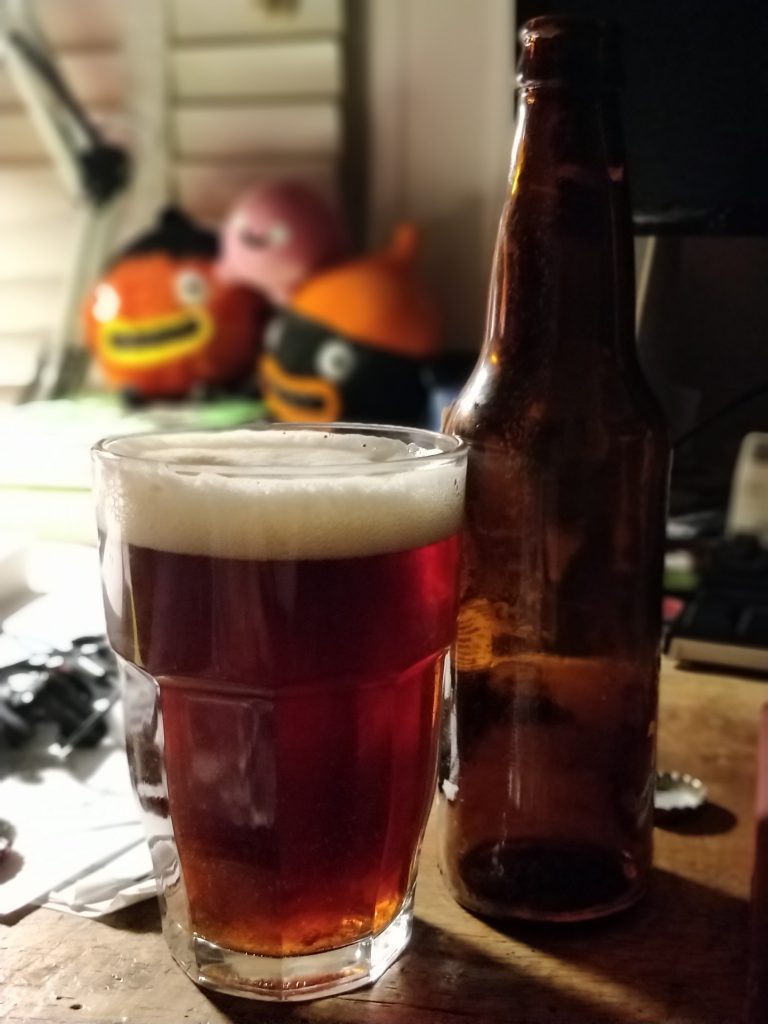
Glass of a dark brown beer

Bonus: we need some mead!

Because we somehow had a giant jar of honey available, and some fruit that was in need of use, we made some mead! We didn’t really use a recipe, just heated water with the honey, added chopped-up apples and pears (that were sort of almost fermenting on their own), and eventually yeast (Safale S-04 dry ale yeast).
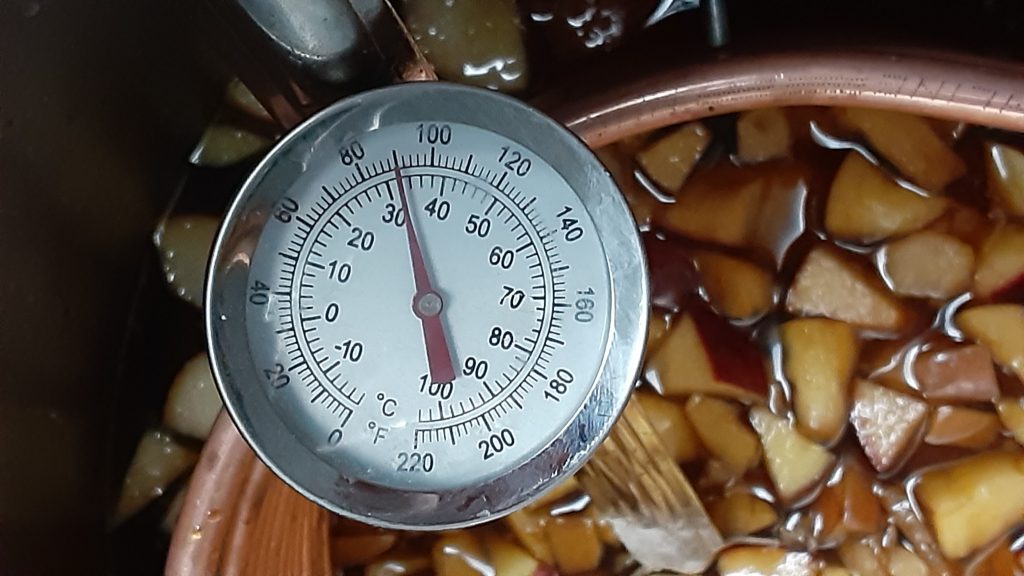
A picture of a thermometer showing 85 degrees F (31 C), in the background some brown liquid with cubes of apple and pear floating.
Getting the mixture to cool down enough to add the yeast.

After three weeks or so in the carboy, we transferred it over to a keg.

And now we have mead! It came out relatively dry (how I like it), with a taste of honey and cider. And a reason to get all our friends introduced to mead!
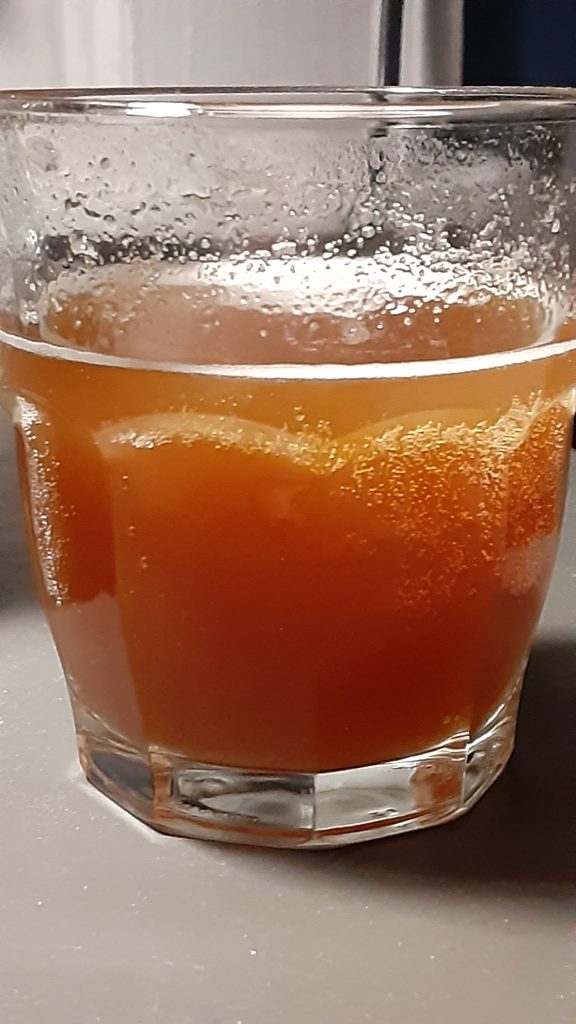
A glass of golden brown mead.
Not quite sure how strong this one ended up.

Batch #6: Cherry Chocolate Milk Stout

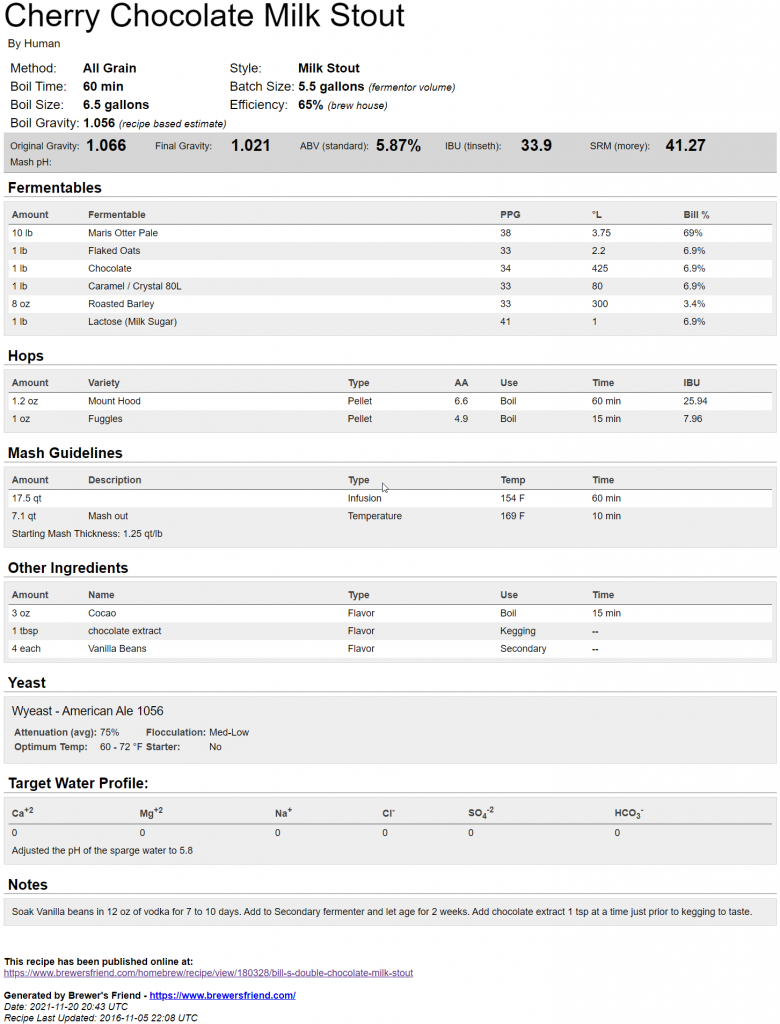
Our final brew of the year was a Cherry Chocolate Milk Stout, based on a recipe we found on Brewer’s friend. The trick to milk stouts is adding outs (for extra creamy foam), lactose, and dark roasted malts. To add the cherry and chocolate notes, we boiled some cocoa nibs and cherries, and added that flavorful water, when cooled, to the keg.

After transferring to the keg, we first hooked it up to the CO₂ tank for a few days, and then switched to nitro.

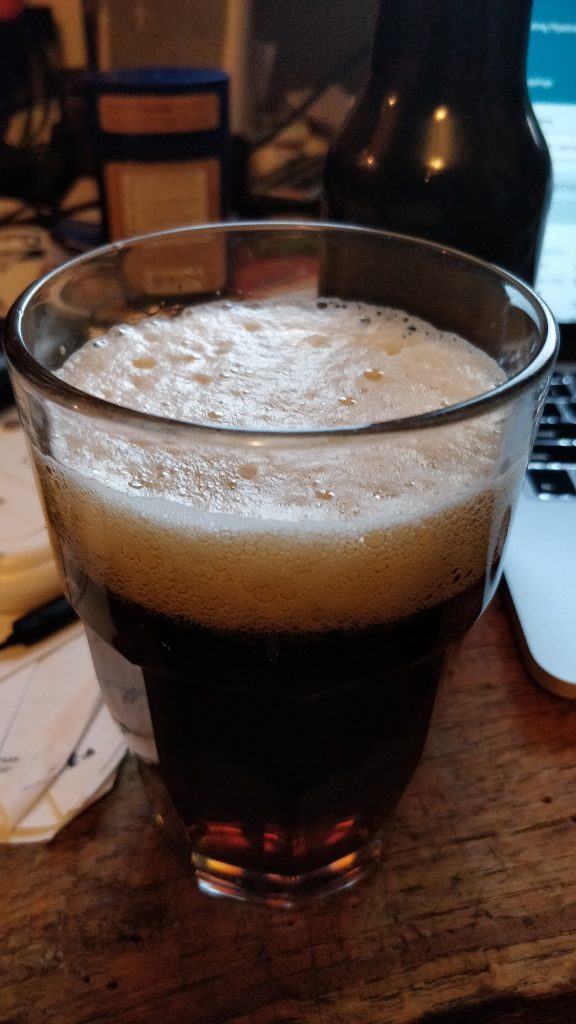
And the result? We learned that we definitely need more cherries and chocolate next time. The stout came out tasting very stouty (hurray), and oh my, the nitro is satisfying! The bubbles, they go down!

(Please ignore the audio)

Also, the foam results in a pretty fun stache.

Picture of my face, wearing glasses, with a foamy moustache.
Foam stache alert!

Starting 2022 with the following on tap:
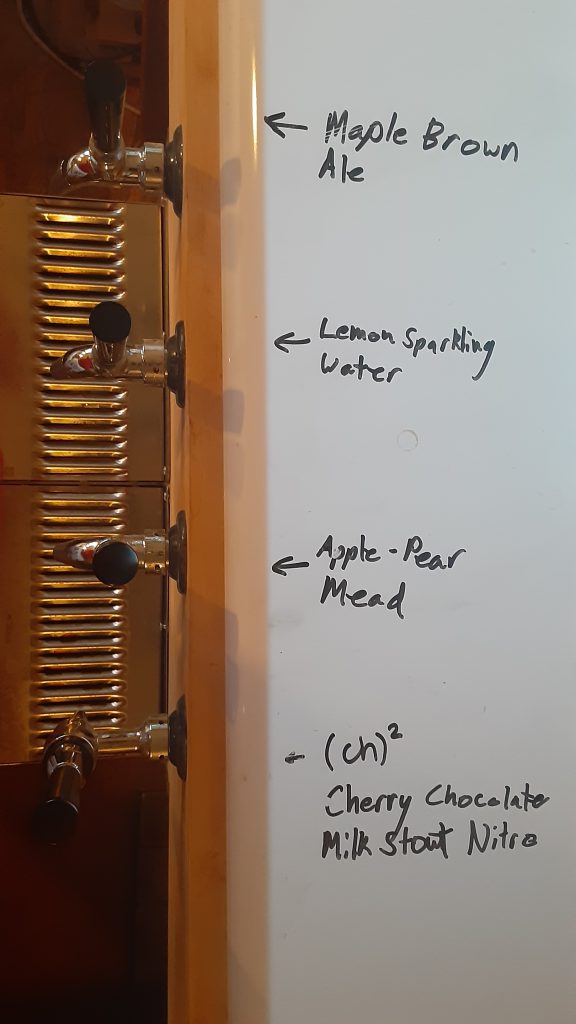
Top view of the kegerator with four taps, labels show what's on tap: Maple Brown Ale, Lemon Sparkling water, Apple-Pear Mead and (ch)^2 aka cherry chocolate milk stout nitro

I don’t know about you, but that’s not too bad to start off 2022! I hope you all have a wonderful, safe, healthy, and interesting year ahead. Hopefully with some more content from yours truly!


Recipes:

Screengrab of the Maple Brown Ale Recipe
Screengrab of the Cherry Chocolate Milk Stout Recipe

That’s some old beer!

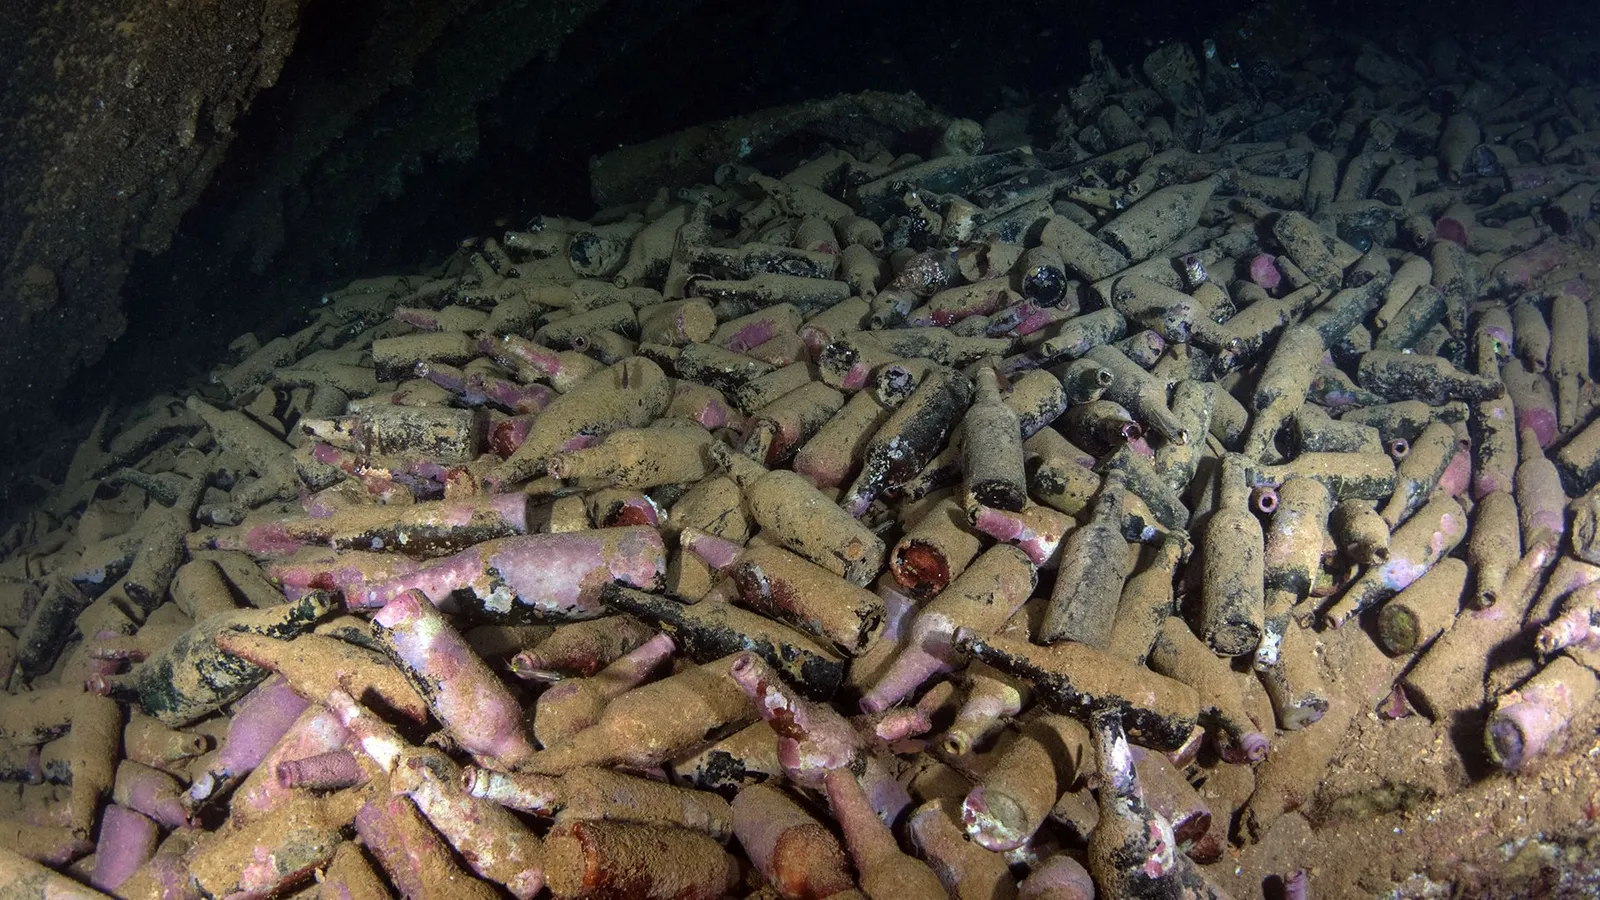
Researchers recently found a treasure of 125-year-old, unopened, beer bottles in a shipwreck off the Scottish coast. In those bottles, preserved thanks to the cold ocean water, was even more of a treasure: live yeast.

Beer Archeology

It was only recently that I learned about the field of “beer archeology,” after hearing a talk by the beer archeologist Travis Rupp. I was delighted to learn that there is a whole field dedicated to recreating ancient beers, as far back as ancient Greece and Rome, only using materials, ingredients, and methods that would have been available at the time. Or as close as still available.

Inspired by old techniques, Travis Rupp has developed a series of beers named “Ales of Antiquity.” There’s an ancient-Egypt-inspired beer and a Viking-inspired beer. Of course, there is also a Belgian-style beer as well!

If I’d been interested in beer at the same time I was interested in archeology (the latter was when I was about 8 years old), who knows where I would have (could have) ended up?

Yeast explorers

The yeast found in the Scotting shipwreck is only one of the many endeavors of brewers resurrecting old strains, which cannot only be used to brew historical beers but may have applications in cleaning up pollutions and in the perfume industry (though the article states that the smell of the beer was quite atrocious).

That doesn’t mean noone tried brewing a beer, of course they did! Scientists at Brewlab, a spin-out from University of Sunderland, isolated two types of yeast from the Wallachia shipwreck beer: Brettanomycas and Debaryomyces. With that, they brewed a 7.5% stout that, apparently, had some coffee and chocolate notes. Certain byproducts of the fermentation products create a distinct flavor that is specific to the yeasts used.

And resurrecting ancient yeasts can yield more interesting flavors, compared to the limited stains that are used by most modern brewers today. Maybe something to try in our next batch of homebrew? Time to go diving, I guess!


Read the full news story here: https://www.bbc.com/future/article/20210622-how-shipwrecked-yeasts-could-change-the-taste-of-your-beer

Read the publication about the yeasts found in the shipwreck: https://onlinelibrary.wiley.com/doi/full/10.1002/jib.641

Read more about Travis Rupp: https://www.npr.org/sections/thesalt/2019/05/26/723983713/beer-archaeologists-are-reviving-ancient-ales-with-some-strange-results

Homebrewing: Batch 4 – “Hazy Juicy IPA”

After some time – you’d think that a pandemic would be an excellent time to do some more brewing but that didn’t seem to happen – we have decided to make another attempt at brewing our own beer. Batch 3 has not been documented (it was a brown ale that had that slightly too much Irish moss in it, making it an excellent drink for singing sea shanties or while sitting at a beach), but I made sure to keep track of our summer 2021 brew: a “Hazy Juicy IPA.” Our recipe is mostly based on this Hazy Juicy IPA recipe on brewersfriend.com, with some minor modifications due to availability.

Because, we do live in Seattle, the capital of beer [citation needed], with an average of 12 available IPAs in any given brewery [citation needed].

You can find a more step-by-step walkthrough in our first brewing experiment, so I will not repeat all the steps, but rather document some key changes we made since the last time!

Brewing for Beginners – Part 1 for the making of the wort
Brewing for Beginners – Part 2 for an update on the fermentation
Brewing for Beginners – Part 3 for the bottling process
Brewing for Beginners – Part 4 for the best part of all: tasting!

Day 0: aquiring the materials

Here’s some insight into our brewing process: the first step is biking over to the homebrew supply store to acquire some ingredients, and most excitingly, watch a whole lot of grains get milled up.
Amélie would love this step too

Day 1: Making grain soup

For once, we did not make the mistake of trying to do the beer-shopping and beer-brewing on the same day. Otherwise, the steps were pretty straightforward, except that we had learned that keeping things at temperature is not that important and that we could hang out and be pretty chill about things.

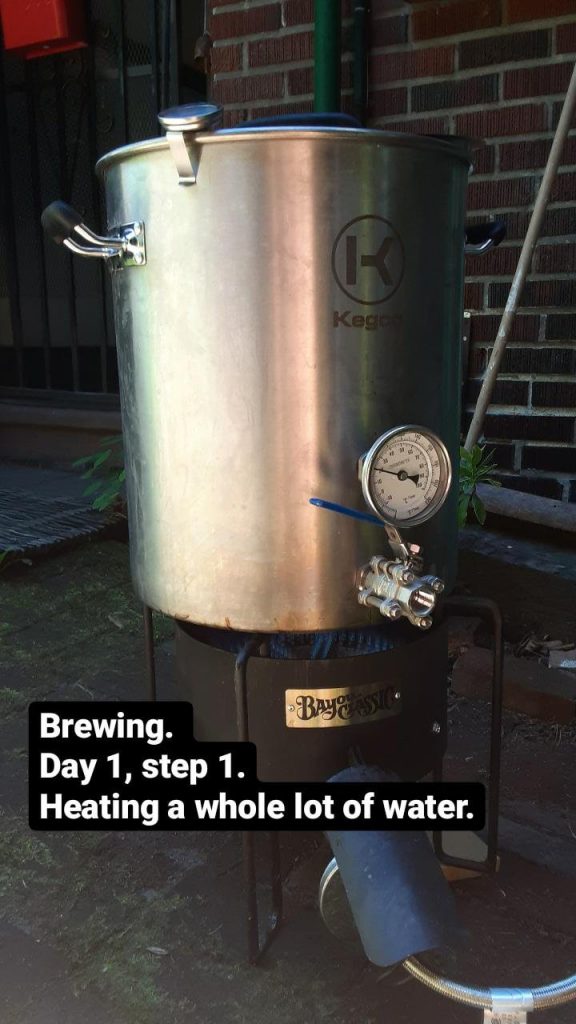
Picture of a big, 10 gallon pot on a gas burner. Text: Brewing. Day 1, step 1. Heating a whole lot of water.
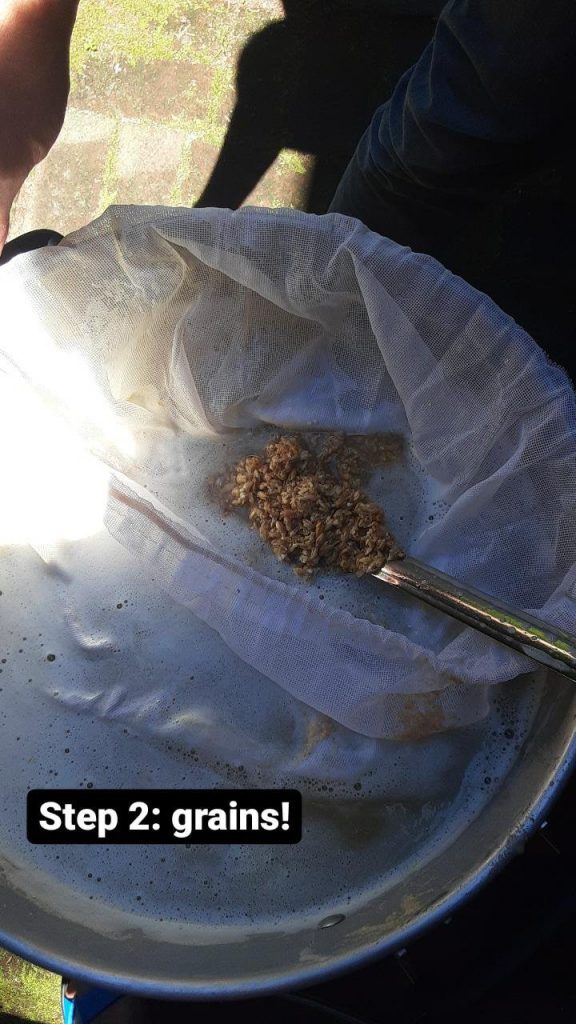
Picture of a mesh bag in the pot, with a spoon showing some grains. Text: Step 2: grains!
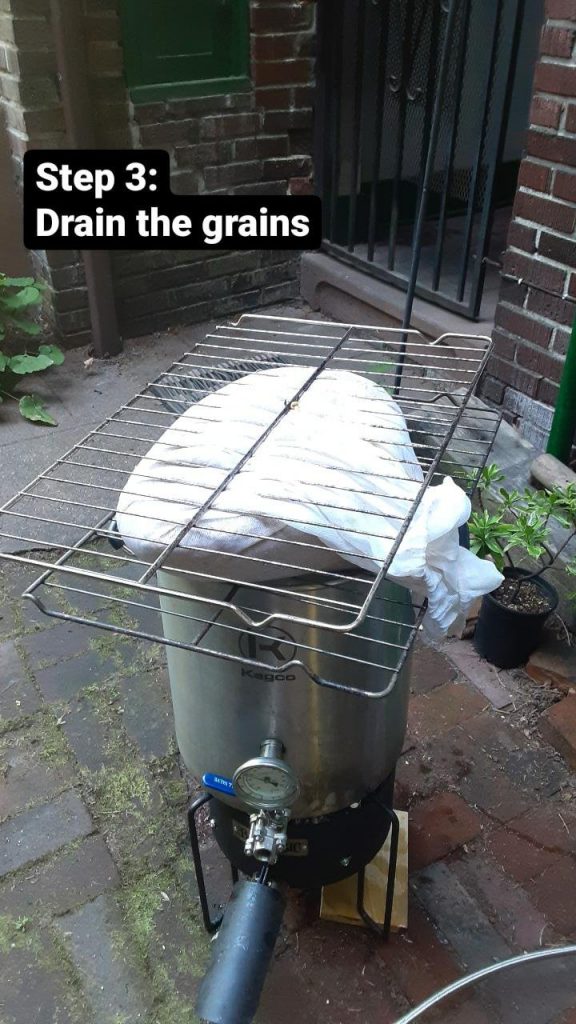
Picture of the mesh bag being drained on top of the post between two oven shelves. Text: Step 3: Drains the grains.
This little nifty trick, A. found on the internet (such a vast resource for nifty tricks!) Who knew that draining hot liquid between two oven shelves would be easier than with your bare hands!

Extra note: we also learned that the leftover grain mush, especially the part that had a lot of oats, is quite delicious for breakfast!

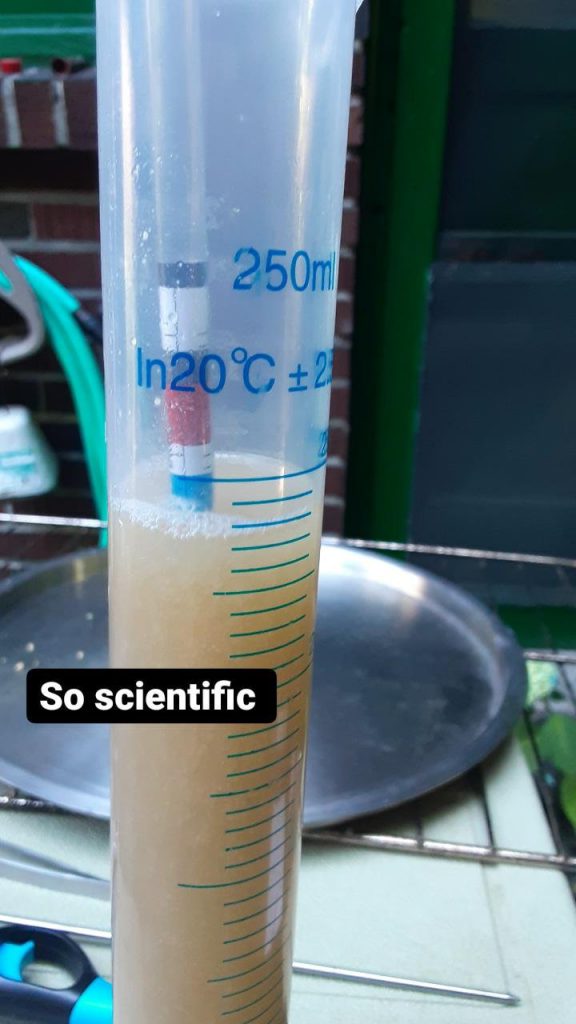
Picture of some beer in a graduated cylinder with a specific gravity measurement device. Text: So scientific
Specific gravity at this point (preboil) was 1.049. The closest we’ve ever been!
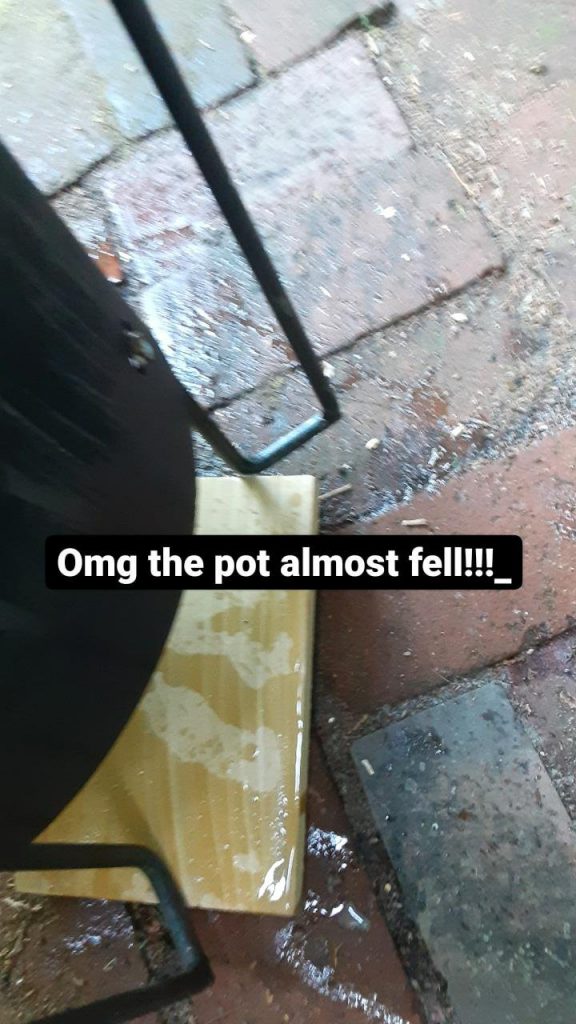
Picture of the gas burner leg on an unstable surface. Text: Omg the pot almost fell!!!
Just adding in some drama
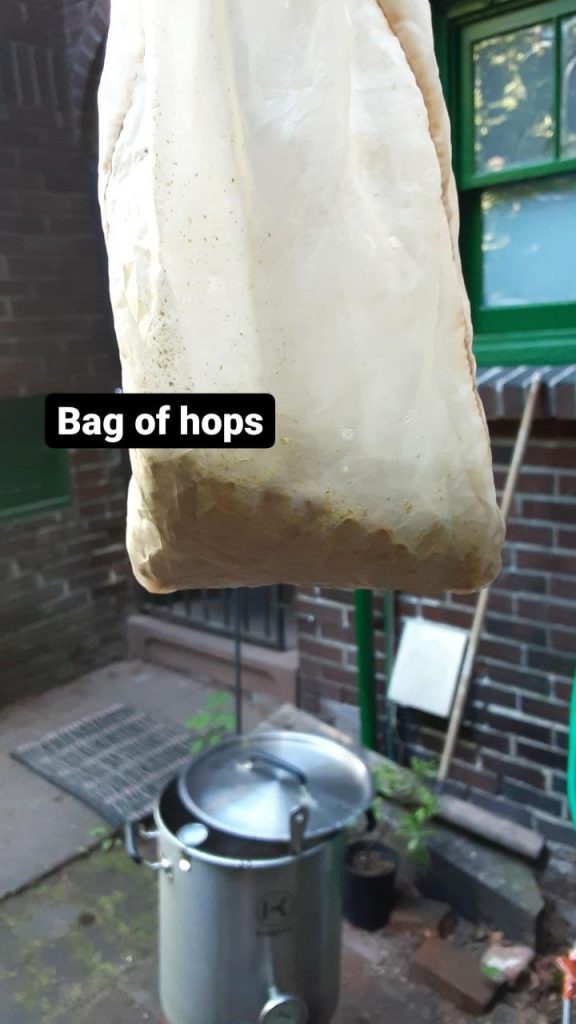
Picture of a small mesh bag with hops. The pot is in the background. Text: Bag of hops
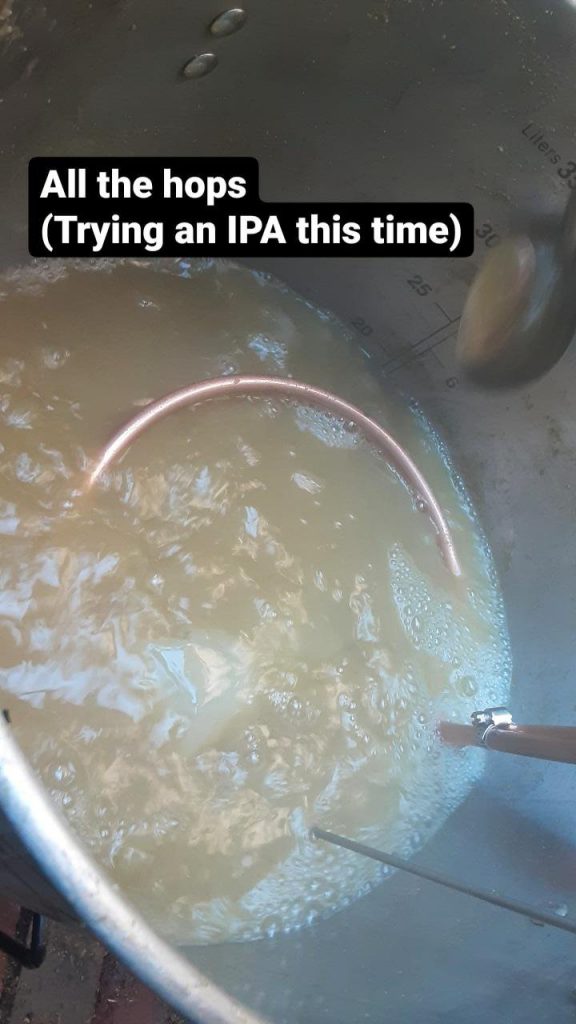
Picture of the liquid with a cooling coil. Text: All the hops (trying an IPA this time)
The bag in the previous picture actually wasn’t very helpful and all the hops came out anyway.
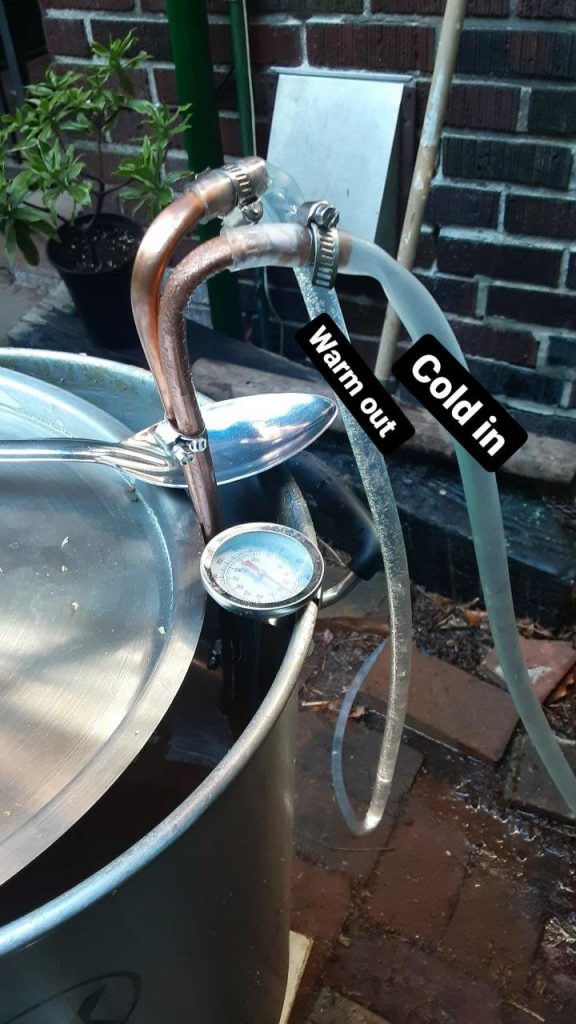
Picture of the cold water coming into the copper coil for cooling. The cold water has condensation on the tube, the water coming out looks all bubbly. Text: Warm out. Cold in.
Cooling
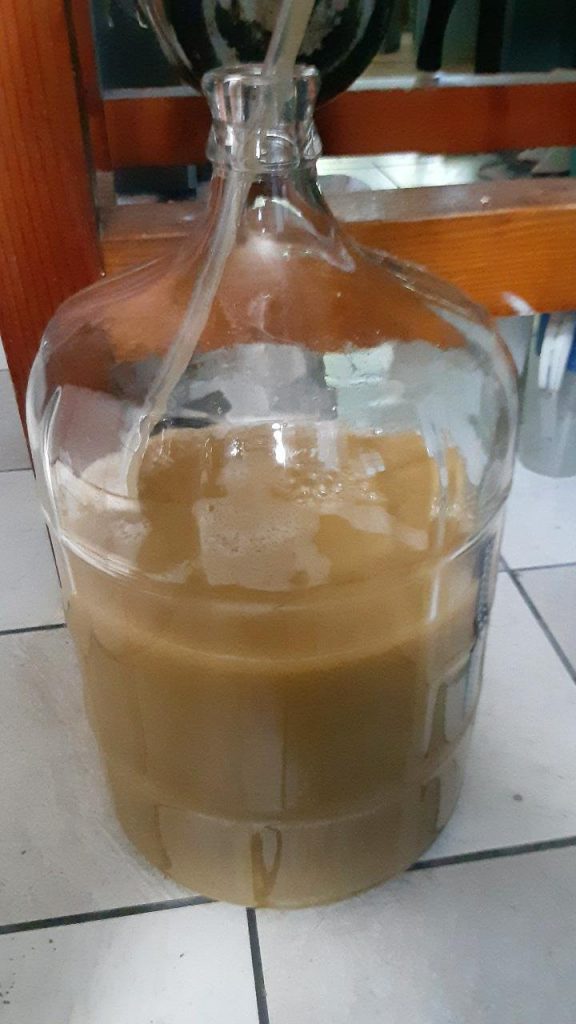
Picture of the beer being transferred into the carboy.
Transfer time!
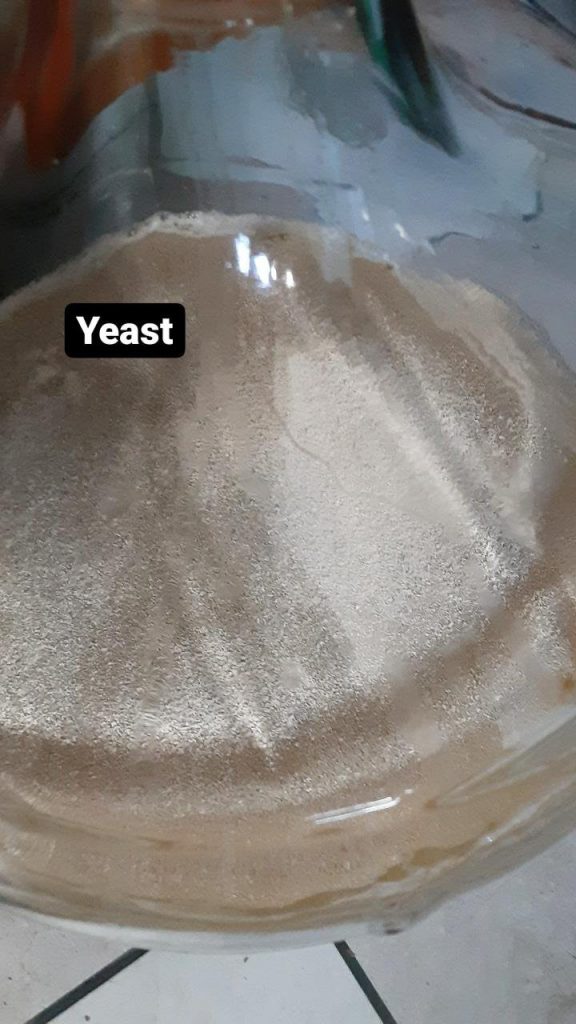
Picture of dry yeast floating on the liquid surface.

And now for the best part:

During this round, we tried to keep the carboy at a lower temperature, especially because Seattle was going through an unprecedented heatwave, not ideal conditions for brewing yeast. We had the carboy sitting in a bath of water where we occasionally threw in some ice. Other than that, things just went a lot smoother than the last 3 times, mostly because we made sure to take the time, let everything cool down enough, and were better prepared…

Day 3: Two weeks later…

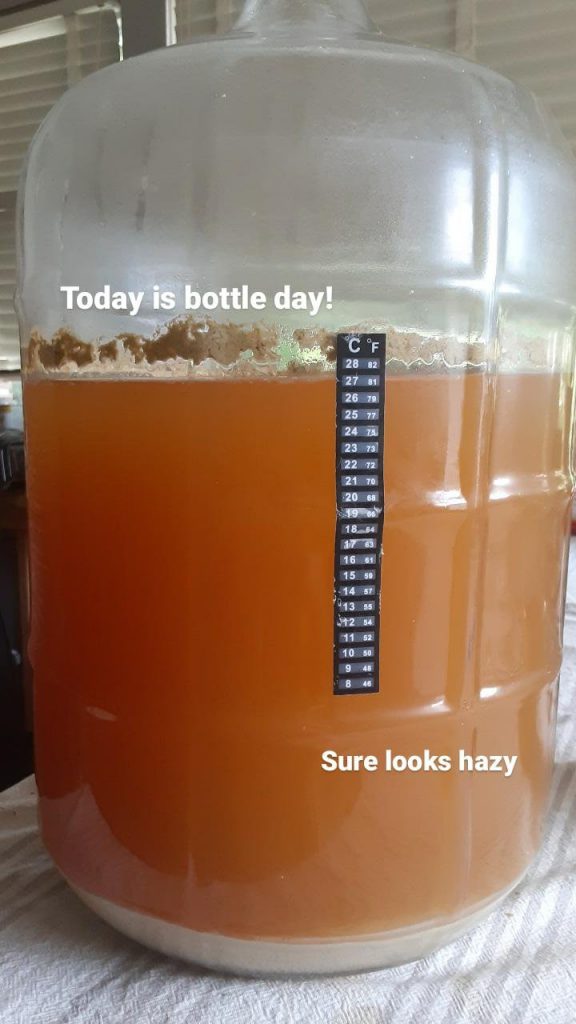
Picture of the carboy with a hazy looking beer on the bottom. There is a lot of sediment. Text: Today is bottle day! Sure looks hazy
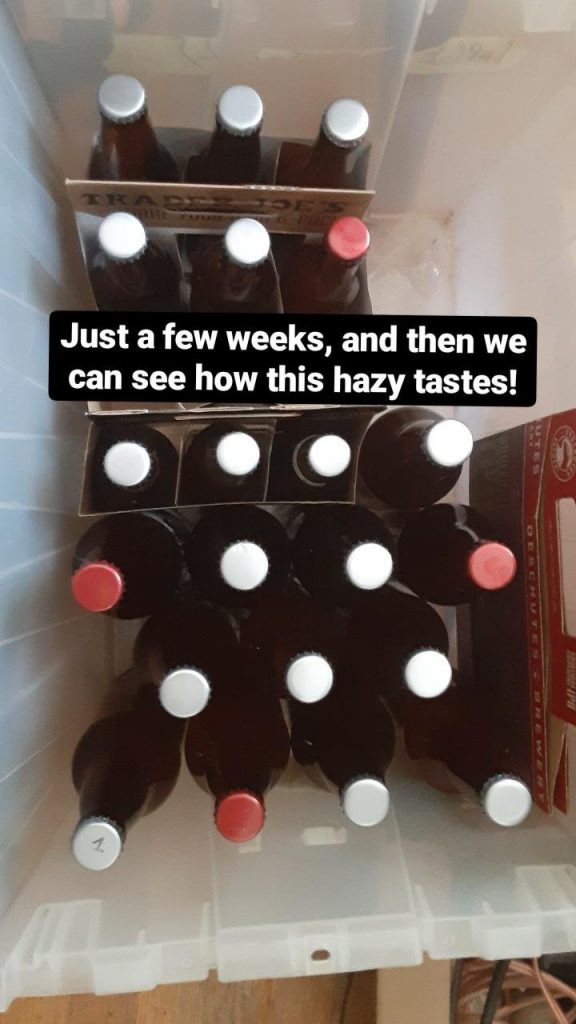
Picture of some bottled beer. Text: Just a few weeks, and then we can see how this hazy tastes.

We forgot to take the specific gravity measurement, but the beer sure smelt hoppy, and tasted pretty good two (considering it’s not carbonated yet), so fingers crossed we have a good batch! Check in for a first-taste-update in two weeks or so!

Bland Beer

It’s not rally my fault, but I’m a little bit of a “beer snob”. I grew up in beer heaven: Belgium. The history, variety, and quality of beer in that small country – about 1/6th the size of Washington – would spoil anyone, including me.

Now I live in Seattle, and I honestly can’t complain because the microbrewery scene is just amazing, with 174 breweries (!) in the greater Seattle area. But as a Belgian beer-lover, I can’t help but cringe sometimes on the limited selection (does everything have to be an IPA?) and the way beer is served (there’s a special glass for that, people, and have you never heard of a good head?).

Told you – I’m a beer snob.

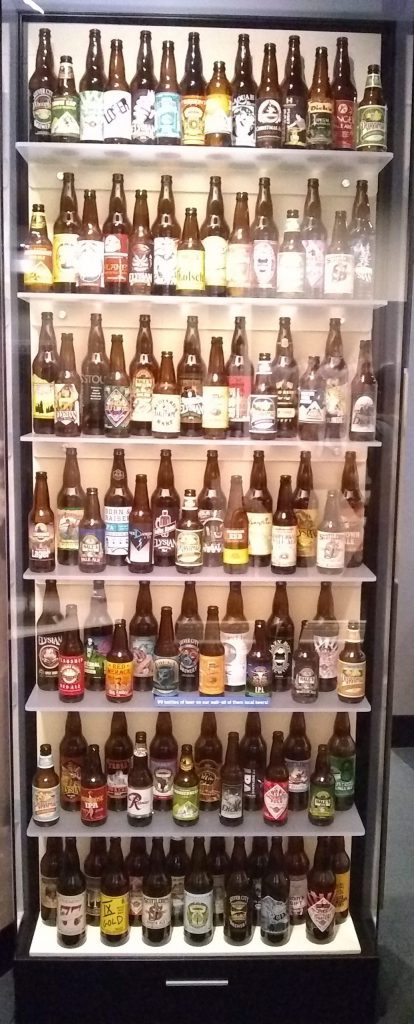
A vitrine with ~100 different types of beer bottles
A selection of Seattle-craft beers as seen at MOHAI.

So, no complaining in Seattle, but the general trend in the US is a preference for bland beer. And there are historical reasons for why that is.

Beer-history, the best kind of history!

The early days: how beer came to America

It’s not hard to guess how beer made it to American soil: it followed the British.

British colonialists brought their traditional dark beer over the Atlantic, bringing with them the tradition of drinking home-brewed “small beer” instead of water. Back in the homefront, water was extremely contaminated, so drinking a light beer while dining was the safe option. Even though the water was a lot cleaner in the colony, the tradition continued on.

Next to the light beers house-wives brewed at home, stronger beers were produced by brewers for social occasions. With the move to the colonies, there was a departure of the traditional malt beers: barley did not grow as well and was expensive to ship over, so colonialists switched to using corn, wheat, sassafras, molasses, and spruce – in addition to or instead of barley.

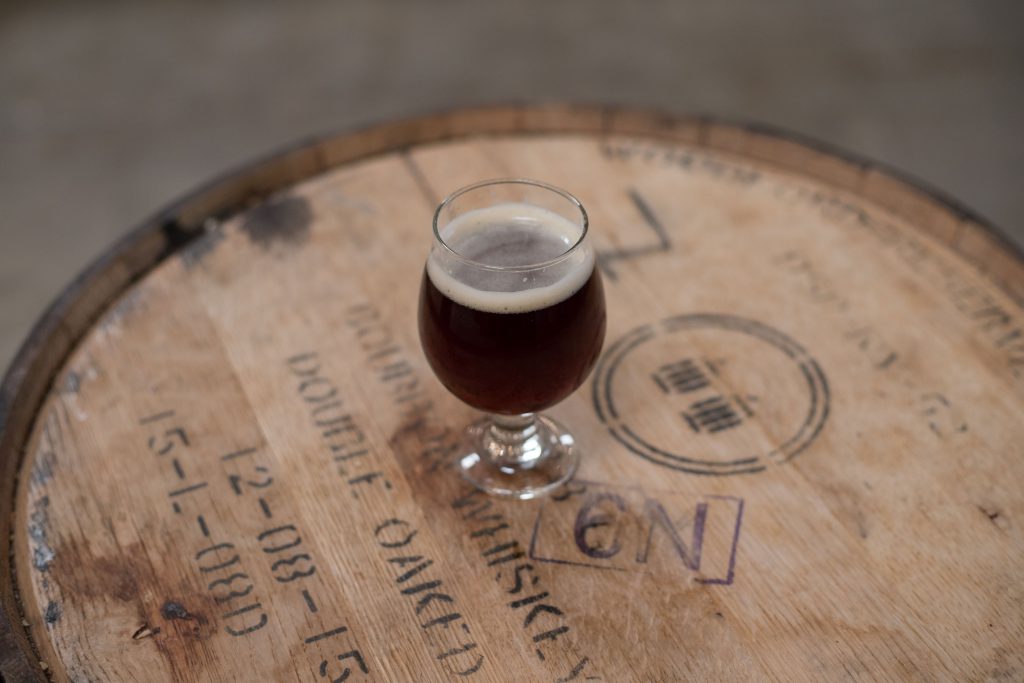
A red/brown glass of beer on a wooden barrel.
Early English settlers came to American with their darker ales – but probably not their fancy glasses.
Photo by Sarah Gualtieri on Unsplash

Overall, beer was not very popular in those days. Apples grow very well on this side of the ocean, so cider was a popular drink; and spirits are easier to keep for a long period of time, making whiskey and rum (the latter in the South), popular alcoholic beverages.

What did cause some switch to beer was religious-based temperance: rather than giving up drinking completely, some early settlers switched from spirits to beer.

Bier Her!

And then, the German immigrants came, bringing with them Bavarian-style lagers, which are mellower, more stable, more consistent and easier to keep than English style ales.

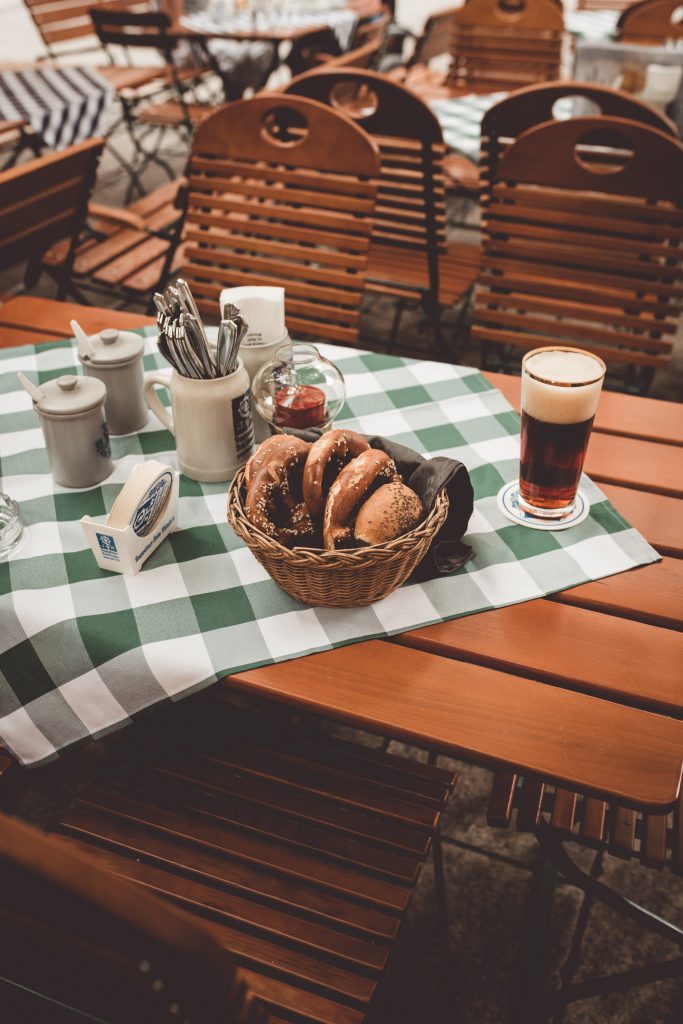
A table with beer and a basket of pretzels.
With German immigrants came lighter beer. And pretzels.
Photo by Clay Banks on Unsplash

Lagers were easier to drink and became very popular with working-class Americans. With a low alcoholic content (3%), it would be something they could consume as a refreshment during lunch, without getting drunk too quickly. While being drunk on the job (for most manufacturing and mining companies) could get you fired, there were no rules against drinking during working hours.

By 1880, lager was fully Americanized. American breweries would have a diverse selection of beers (ales, porters, Weiss beers, …) providing beer drinkers with a choice, but blue-collar workers would have a preference for lagers. With an increased disposable income, but rising taxes on spirits, beer was the smooth and mildly intoxicating choice to end a hard day of work with.

Away with the non-lagers

In the early 20th century, American beer drinkers nearly totally shifted to lager- and pilsner-type beers, due to a variety of reasons. Blue-collar workers still preferred “a milder and paler” beverage and with technology advances, they could now drink it all year round.

Before the technology to cool down and heat, lager production and consumption depended on the seasons. Lager does not keep very well, but thanks to fridges they could be stored and consumed year-round. On the other hand, brewing lagers requires relatively high temperatures, and thanks to heating technology, lagers could be made all-year-round, including in the winter.

Another important development was religious-based temperance – again. The early 20th century came with a wave of state-level prohibition laws. Light beers were not considered intoxicating beverages, so they would receive a pass during the war-time prohibition period. Light beers also got an earlier repeal of prohibition – anything under 3.2% was not considered alcoholic enough to bother regulating.

And for those who really wanted to drink, there was a black market. Heavier beers lost it from stronger alcoholic beverages because let’s be honest, if you have to drink in secret, you’re going for the strong stuff. It’s also easier to smuggle (in terms of alcohol content) 40% plus spirits than ~8% beers, amirite?

Drinking beer, and especially ales and heavier beers, is an acquired taste. After 13 years of prohibition, and 16 years of not drinking heartier beers, Americans had lost the memories of full-bodied beers.

The great depression reinforced the public’s contentment with weak beers; it was cheap and simple, and their taste buds weren’t used to hoppiness anyway.

When the women do the shopping

During World war II and the postwar period, things didn’t really change. Grain rationing made high-end beers unwanted. A generation of American males had received 3.2 beer in their Army ration because a little bit of beer would aid morale. The South was an expanding market and favored light beer due to the hot and dry climate.

And women did the groceries.

The women doing the shopping would prioritize light, pale and non-bitter beer. In the 70s, “low in calories” would be an additional thing to add to that list, with some very successful marketing of “Lite” beers.

Breweries were growing, becoming more national and more homogeneous, and Americans liked lighter, paler, and less hoppy beers. In general, beers that were “less challenging” in taste in terms of bitterness and body. Americans tend to like to drink a lot and in social settings, for example during a sports-game that could last for several hours, so a lighter, less filling beer was more desirable.

And in come the craft beers

While the industry remains highly concentrated, with AB Inbev and Miller Coors accounting for more than 80%, small breweries have started popping up all over the country – but mostly in Seattle – in the last few decades. Americans are starting to drinking “real” beer again, with even the average hop in pilsners has started increasing.

Since the 70s, consumers started rising up against “big business,” including “big beer,” which was too big, too cold, too impersonal. People started homebrewing. People started traveling more and expanded their palate with foreign beers. And in ’82, the first American Brewpub opened in Yakima, WA. Most microbreweries began as brewpubs.

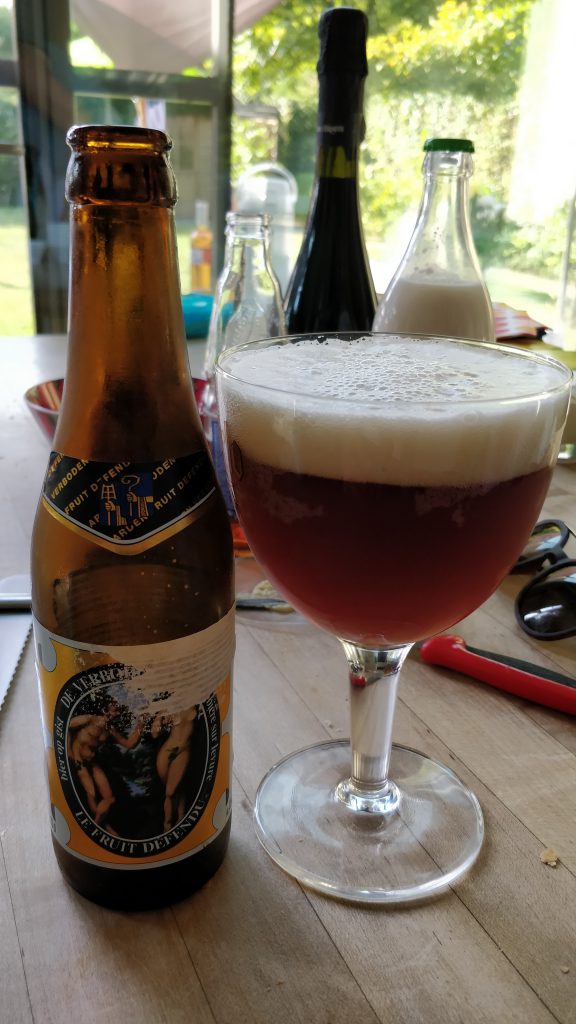
A bottle of St. Bernandus beer poured into a glass.
With increased travel came increased exposure to fancier beers. (Also, this is what good head looks like.)

Fancy beer would still be cheaper than fancy wine, “Champagne on a beer budget” if you will. And with the rise of the internet, consumers can better communicate preferences, demands, homebrewing recipes, and reviews.

Luckily for me, craft beers are now a thing. It seems that the new slogan for drinking beer is: “Drink less but better”

Will do, will do.


Source: Ranjit S. Dighe (2015): A taste for temperance: how American beer got to be so bland, Business History, DOI: 10.1080/00076791.2015.1027691

The best quote out of this paper is:
“The English did not demand better food because they had forgotten what good food tasted like, Americans did not demand better beer because they had forgotten what good beer tasted like.” Ouch.

Header photo by Jon Tyson on Unsplash.

Beer Try 2 – quick update

We’ve made it – here are the final updates from our second brewing trial.

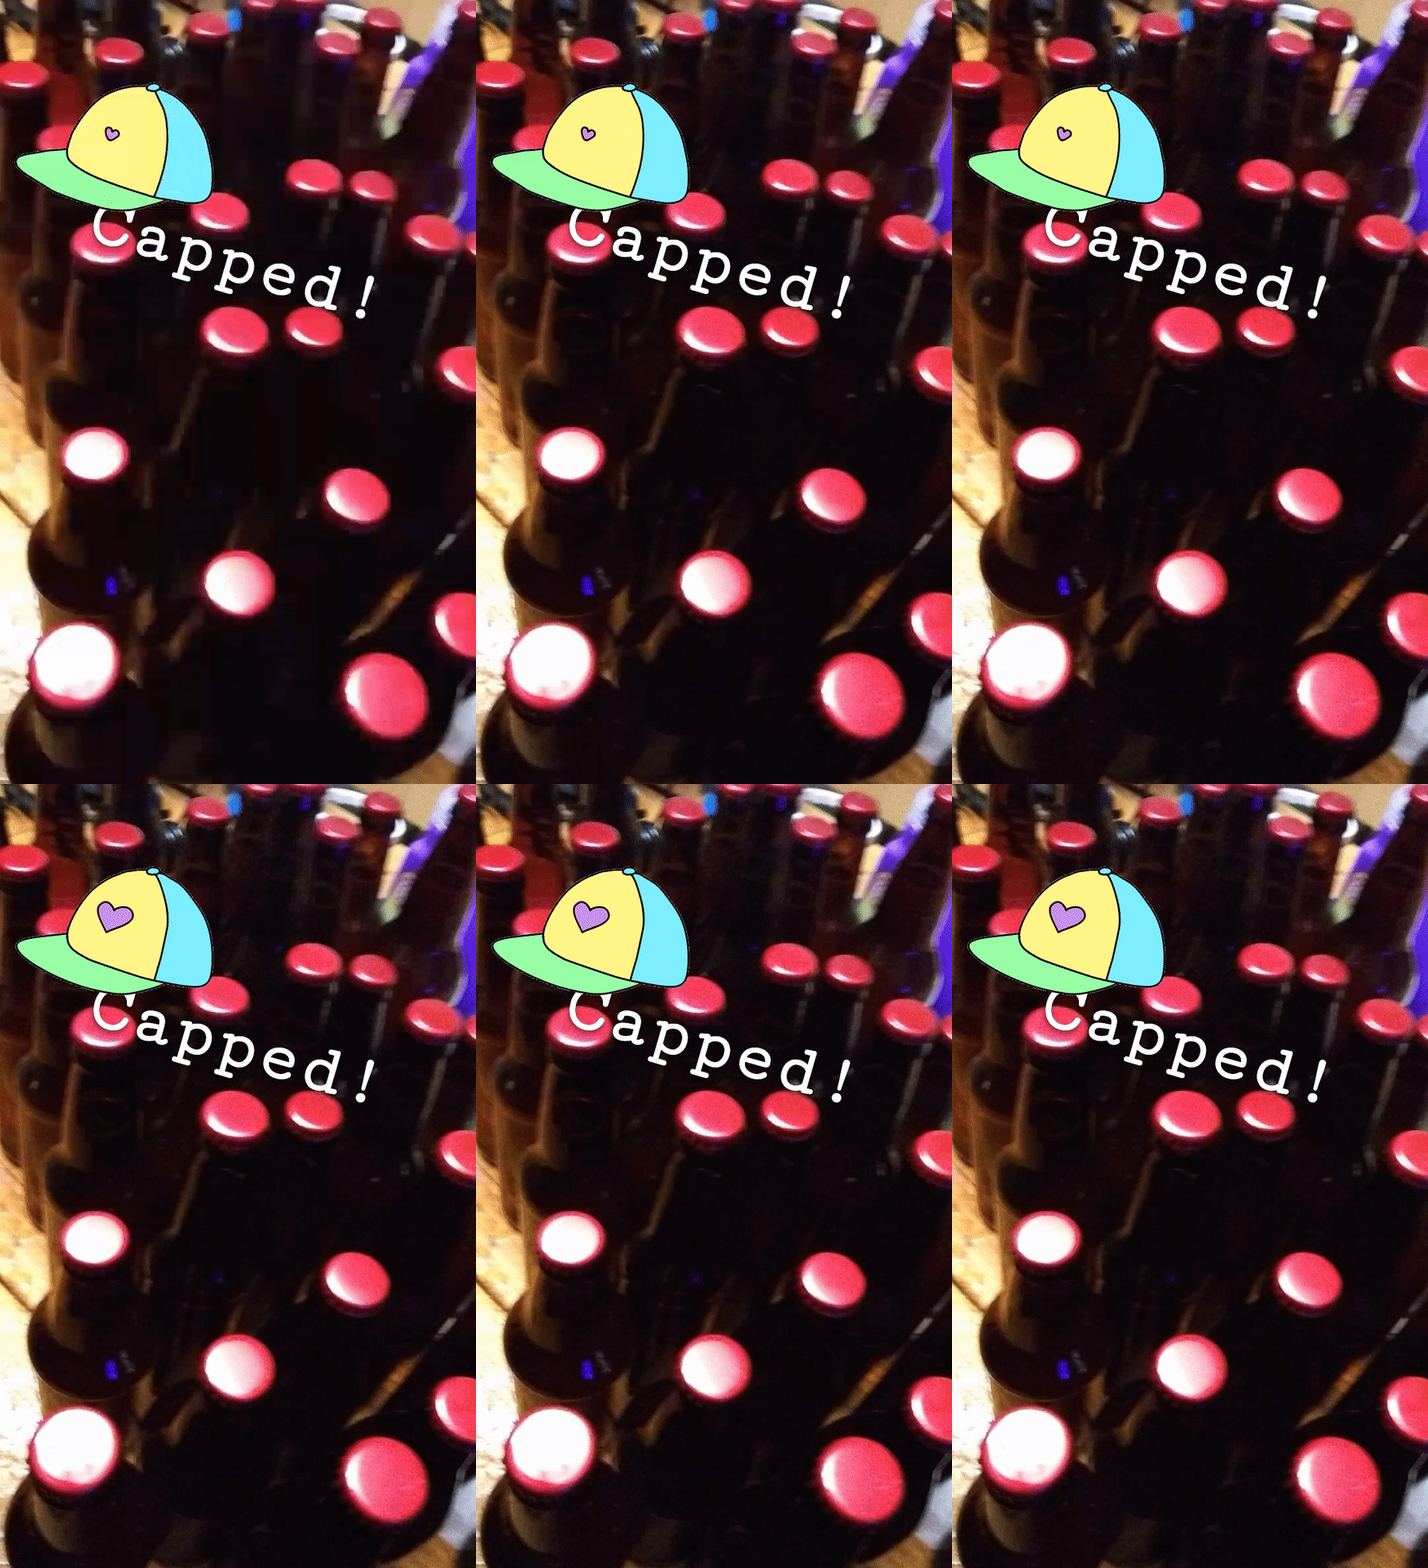
A little while ago, we capped a bunch of bottles…

Photo of capped bottles

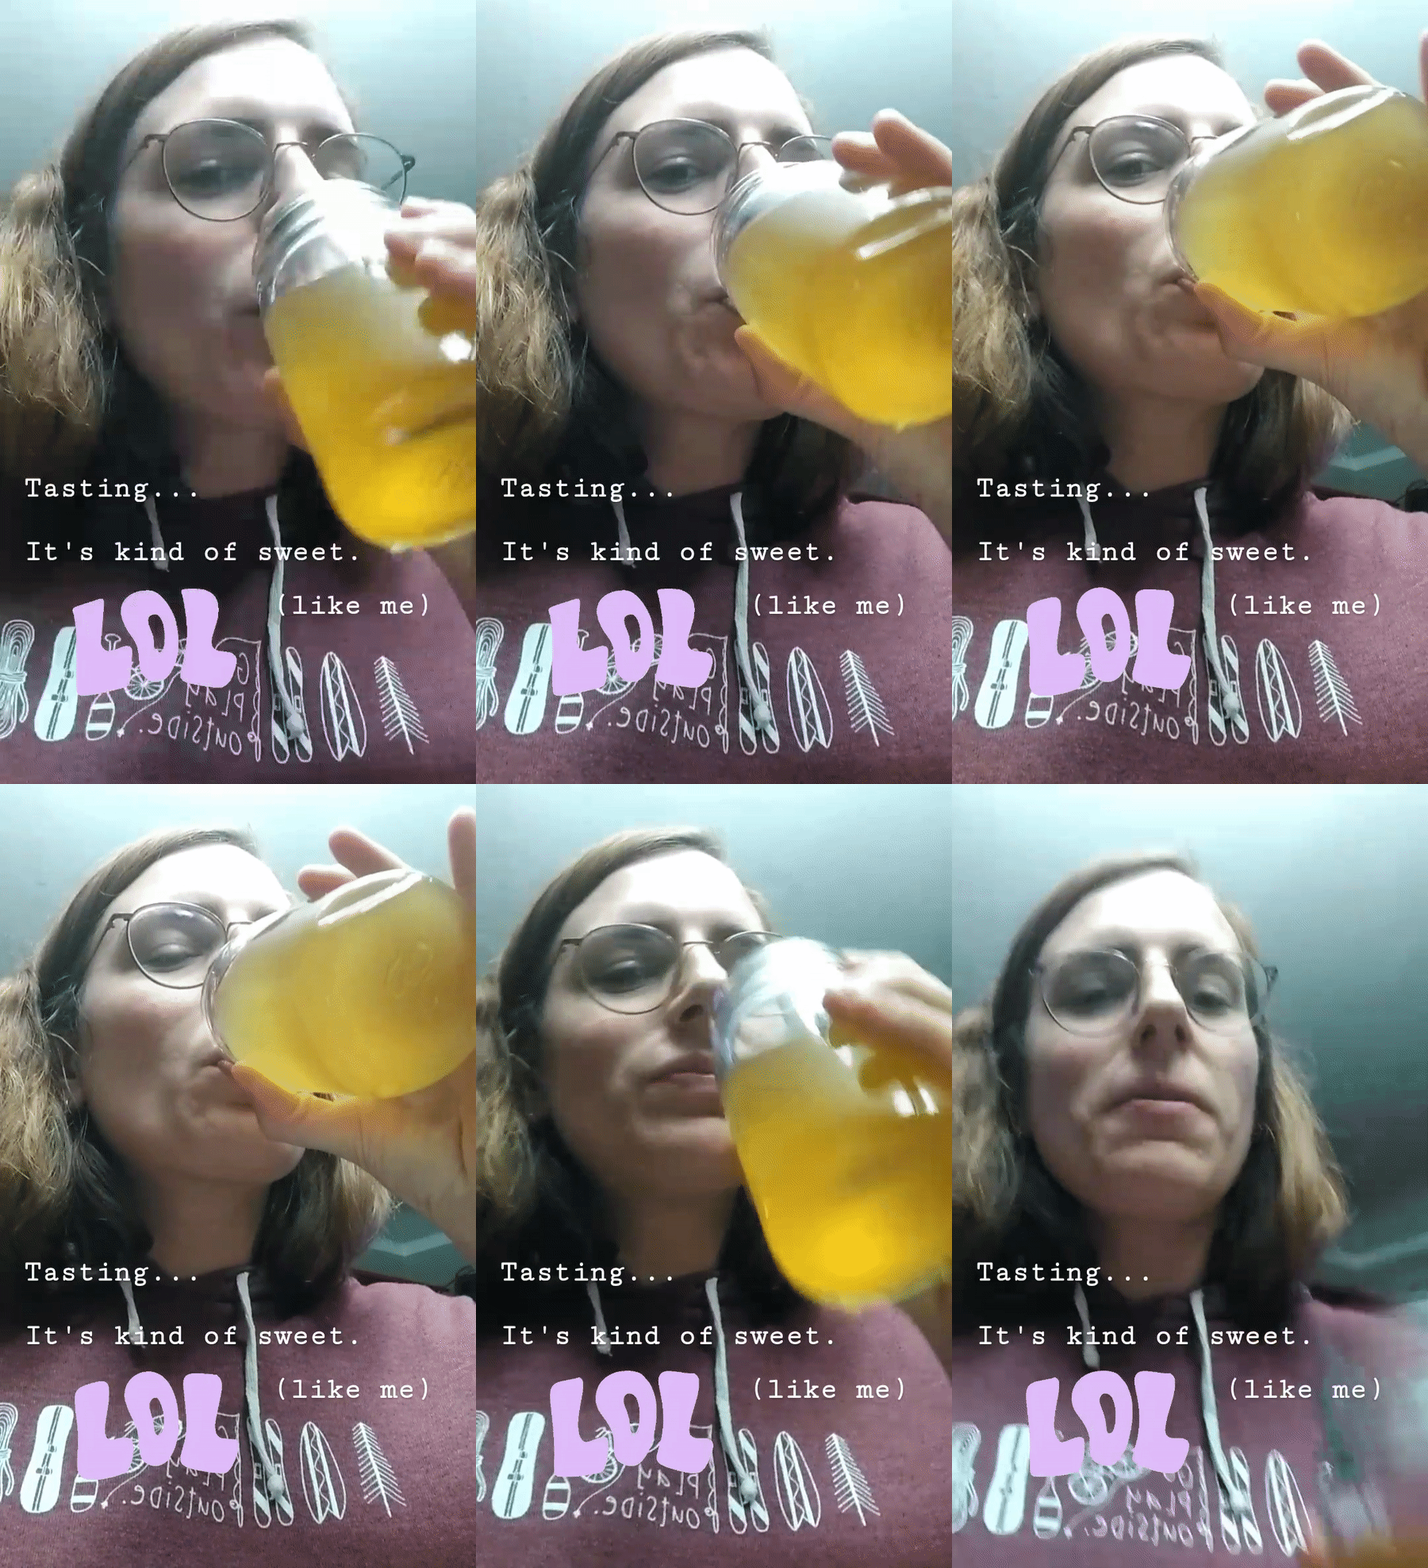
… and did an intermediate taste:

looped gif of tasting the not-yet-beer.
Text: Tasting... It's kind of sweet (like me) LOL!

After a week (well – it’s been two weeks at least by now) we opened our first bottle and gave it a try. I have to admit that I’ve had quite a cold lately, so my taste might be a bit off… Anyway, here’s the verdict:

  • We still didn’t get the type of beer as good as we’d hoped. It ended up being somewhat of a mild-tasting pale ale, or a very flavorful pilsner, or something in between. And no sign of the special ingredient.
  • We did get the alcohol content better; while we haven’t gone through the calculation, it tastes more like a proper beer (not a light version like last time) and after two of them I have to admit I feel a little giddy.
  • It pours really well, but the foam disappears quickly.
  • The responses overall have been pretty good – though mostly from people who dislike IPAs and were enjoying the non-hoppiness of our beer.
  • Final verdict: It was only the second try, it is more than drinkable and the process was fun to do! Next time, we should not have something else planned the same day and need to rush off.
Photo of the pale ale

In the meantime, we also made some Ginger Beer, which is very easy to make and tasted great! (Details later.)

If you feel like cooking things this holiday season and don’t want the multiple-week wait of beer, may I suggest stirring up a batch of tiramisu? It’s super yummy!

Happy Holiday’s Y’all!

Beer Try 2

A few weeks ago, we brewed our very first batch of beer. It was a mixed bag (of grains – haha!): our alcohol content was a lot lower than expected, but it tasted pretty nice regardless. Like a lighter version of a dark beer.

Excited to give things a second go, we gave things a second go!

The steps were pretty much the same as last time, so if you’d like to see a breakdown of the process, please find all of that here:
Brewing for Beginners – Part 1 for the making of the wort
Brewing for Beginners – Part 2 for an update on the fermentation
Brewing for Beginners – Part 3 for the bottling process
Brewing for Beginners – Part 4 for the best part of all: tasting!

This time around, we wanted to make a Pale Ale (with a special twist*). You can find the general recipe here; or scroll down and see the process in action!

AND PRETTY YUMMY!

* Rosemary. The special twist is rosemary. We added it to the hoppy-tea-making step during the last 10 minutes of the boil.

In addition to the rosemary, we made another change. We ran out of time to do the complete 90 minute boil. We only boiled for 60 minutes which meant we were left with a more diluted version of our grain-tea-soup thingy (and thus lower specific gravity). To compensate, we added extra sugar after the first few days to keep fermentation going.

Spent grain bread: basically a version of whole-grain bread. We forgot to add salt to ours so it ended up pretty sweet-tasting but other than that, quite nice! You can find an example recipe here.

Brewing for beginners – Part IV

We did it, we made beer!

Beer poured into a glass.

Here’s the verdict:

“Not bad, it tastes like beer, I could drink this.”

A.

So it has a pretty good taste. It tastes like a light version of what we were trying to achieved (a brown ale). Considering the alcohol content is probably around 3%, we can probably sell it off (not that we’re selling) as a “light dark beer.” If it would have been a little bit more alcoholic, it would probably taste a bit stronger and more flavorful, but for a first try, it is really nice!

And it pours pretty nicely too, look at that head!

Other view on the glass of beer
It’s so foamy

What would we do differently next time? It is likely that during the boiling phase, we didn’t extract enough of the sugar. The recipe we were using, did not use the “tea bag” technique as we were. So perhaps boiling for a bit longer would have extracted more sugars, giving the yeast more stuff to ferment.

Final verdict:

“Pretty tasty, good for a first try, and plenty of room to improve! We did it.”

V.

Cheers!


Read about the process here: Part I, Part II and Part III

Brewing for beginners – Part III

It’s been two weeks.

Our fermentation vessel has been sitting at room temperature (~ 20°C or 68F) for two weeks.

It’s time to move some things around. Or move some liquid into some bottles, to be more precise.

In the bottles, we want some final fermentation to happen. This won’t really add any alcohol, but CO2. Perfect to create a bubbly beer! But there is one problem: all the sugar we put in the wort has been eaten up by the yeast in the fermentor.

So we have to add just enough sugar for the yeasts to convert to CO2 gas, but not too much (we don’t want the bottles to explode). We made up a sugar-water solution by boiling 2 cups (473 mL) and dissolving 4 oz (113 g) of sugar, which we mixed into the fermented almost-beer. We also needed to move the almost-beer into our bottling bucket – carefully, as to not add too much oxygen or contaminants!

Beer being siphoned from the fermentation vessel into the bottling bucket.
From bottle to bucket

Next step was to set up a bottling assembly line. Part one: filling the bottles up, leaving about an inch (2.5 cm) at the top.

Bottle being filled with beer
From bucket to bottle

Part 2: capping the bottle.

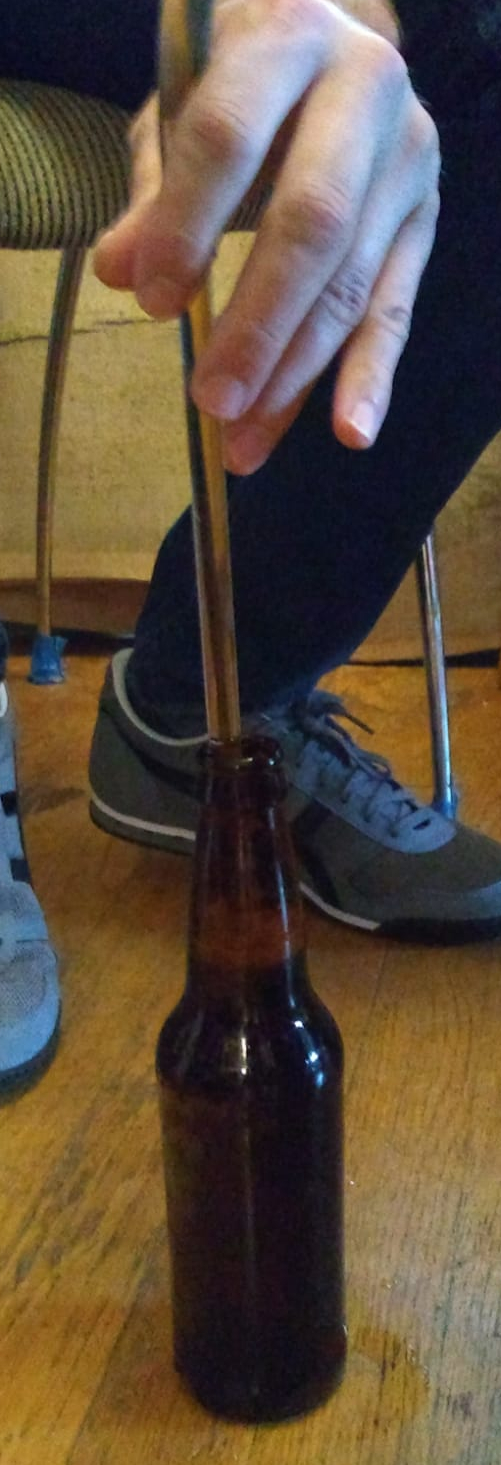
Capping the bottle
Easy peasy, simple pimple
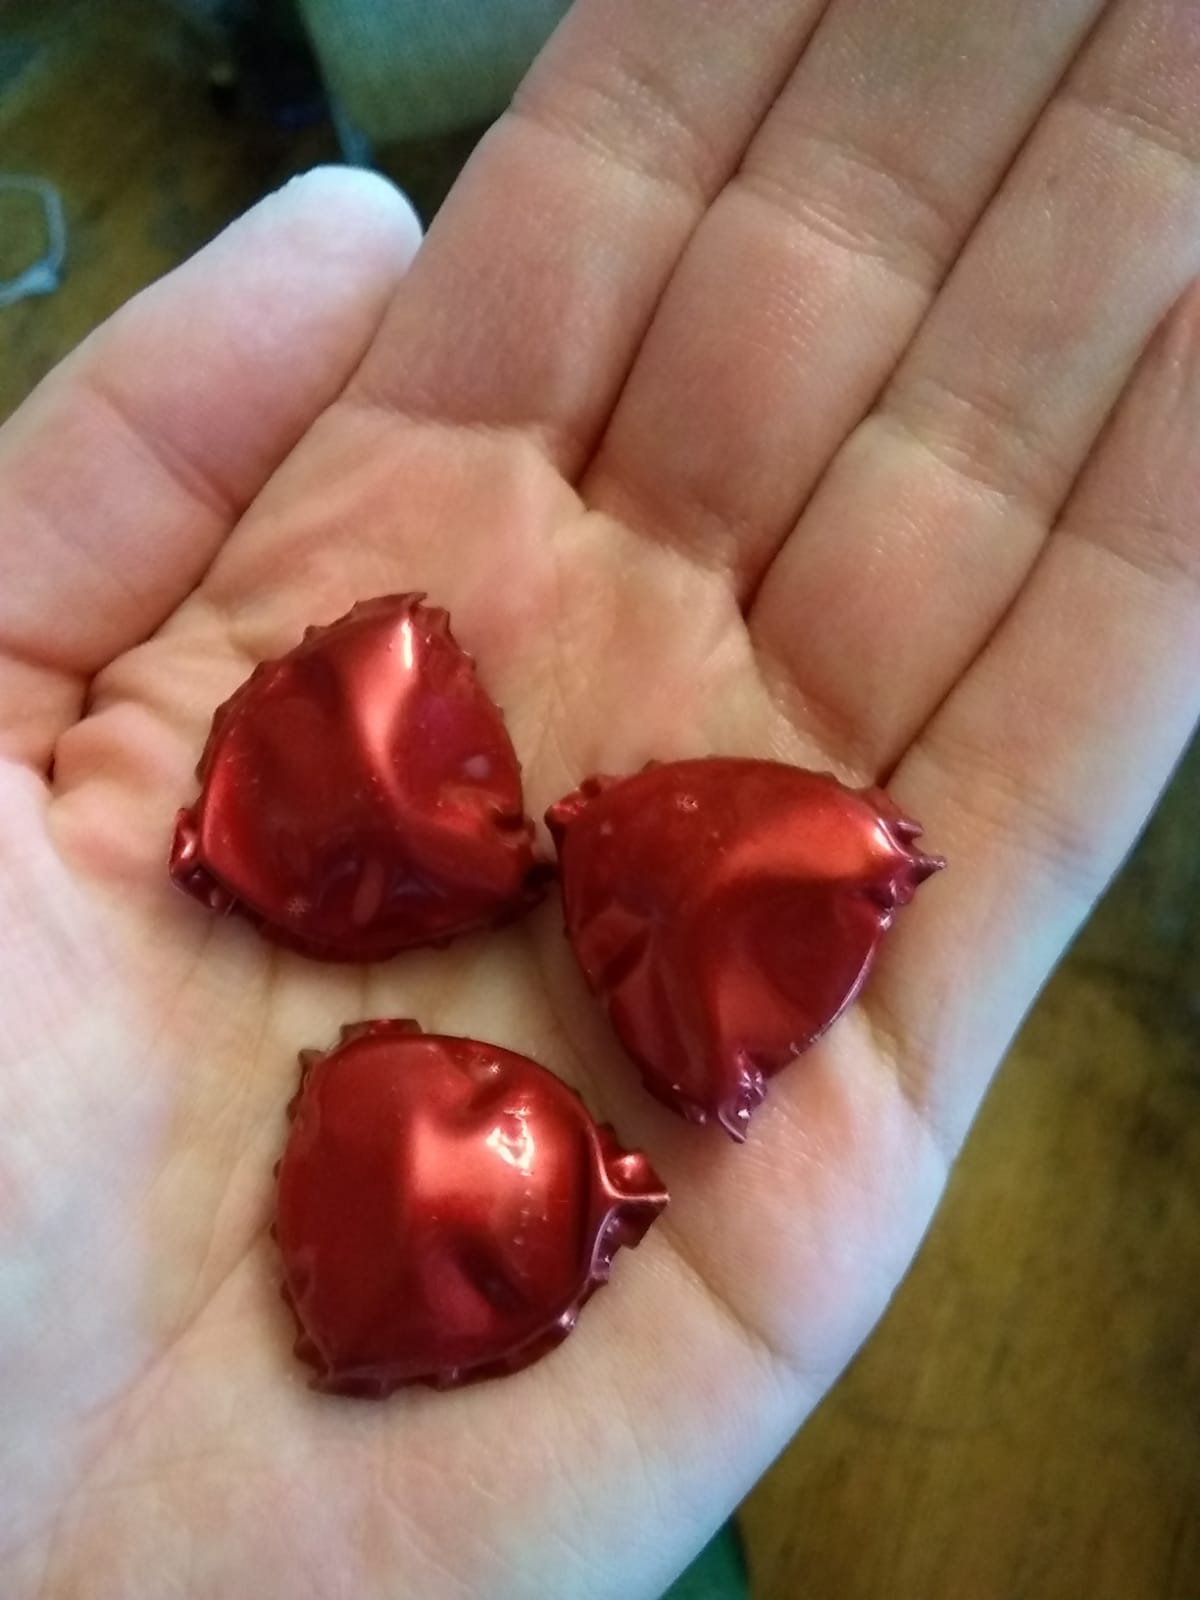
a hand showing three broken red bottle caps
Okay, not that easy.

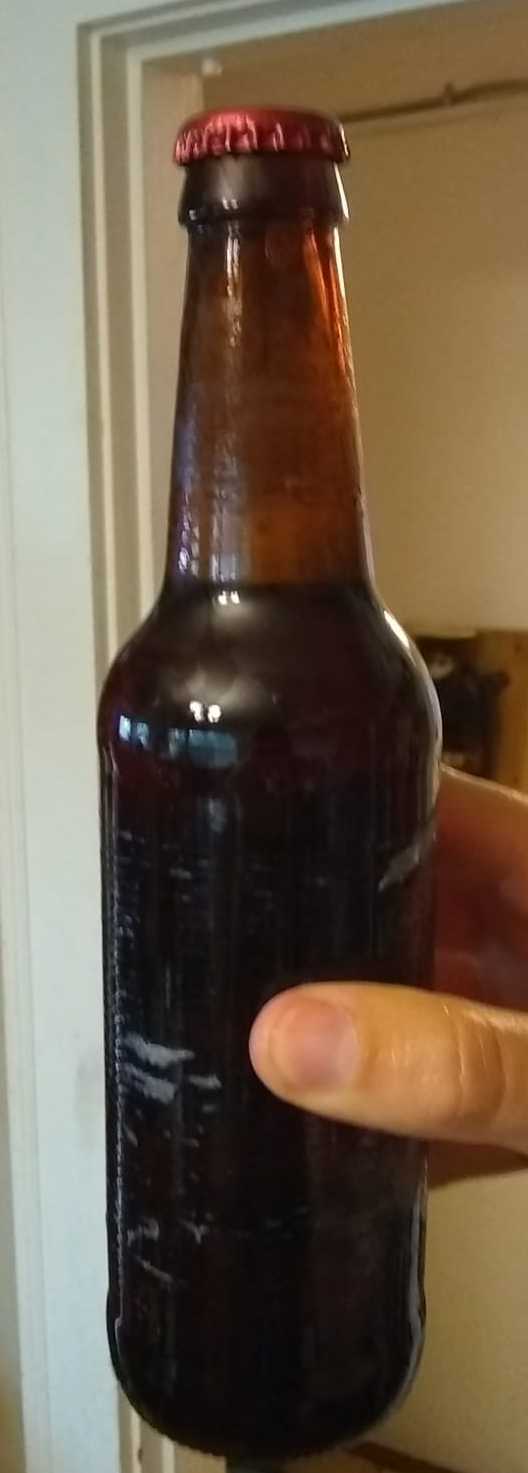
And there we are: a bottle of our very own, home-made beer!

hand holding up a bottle of beer
BEER!

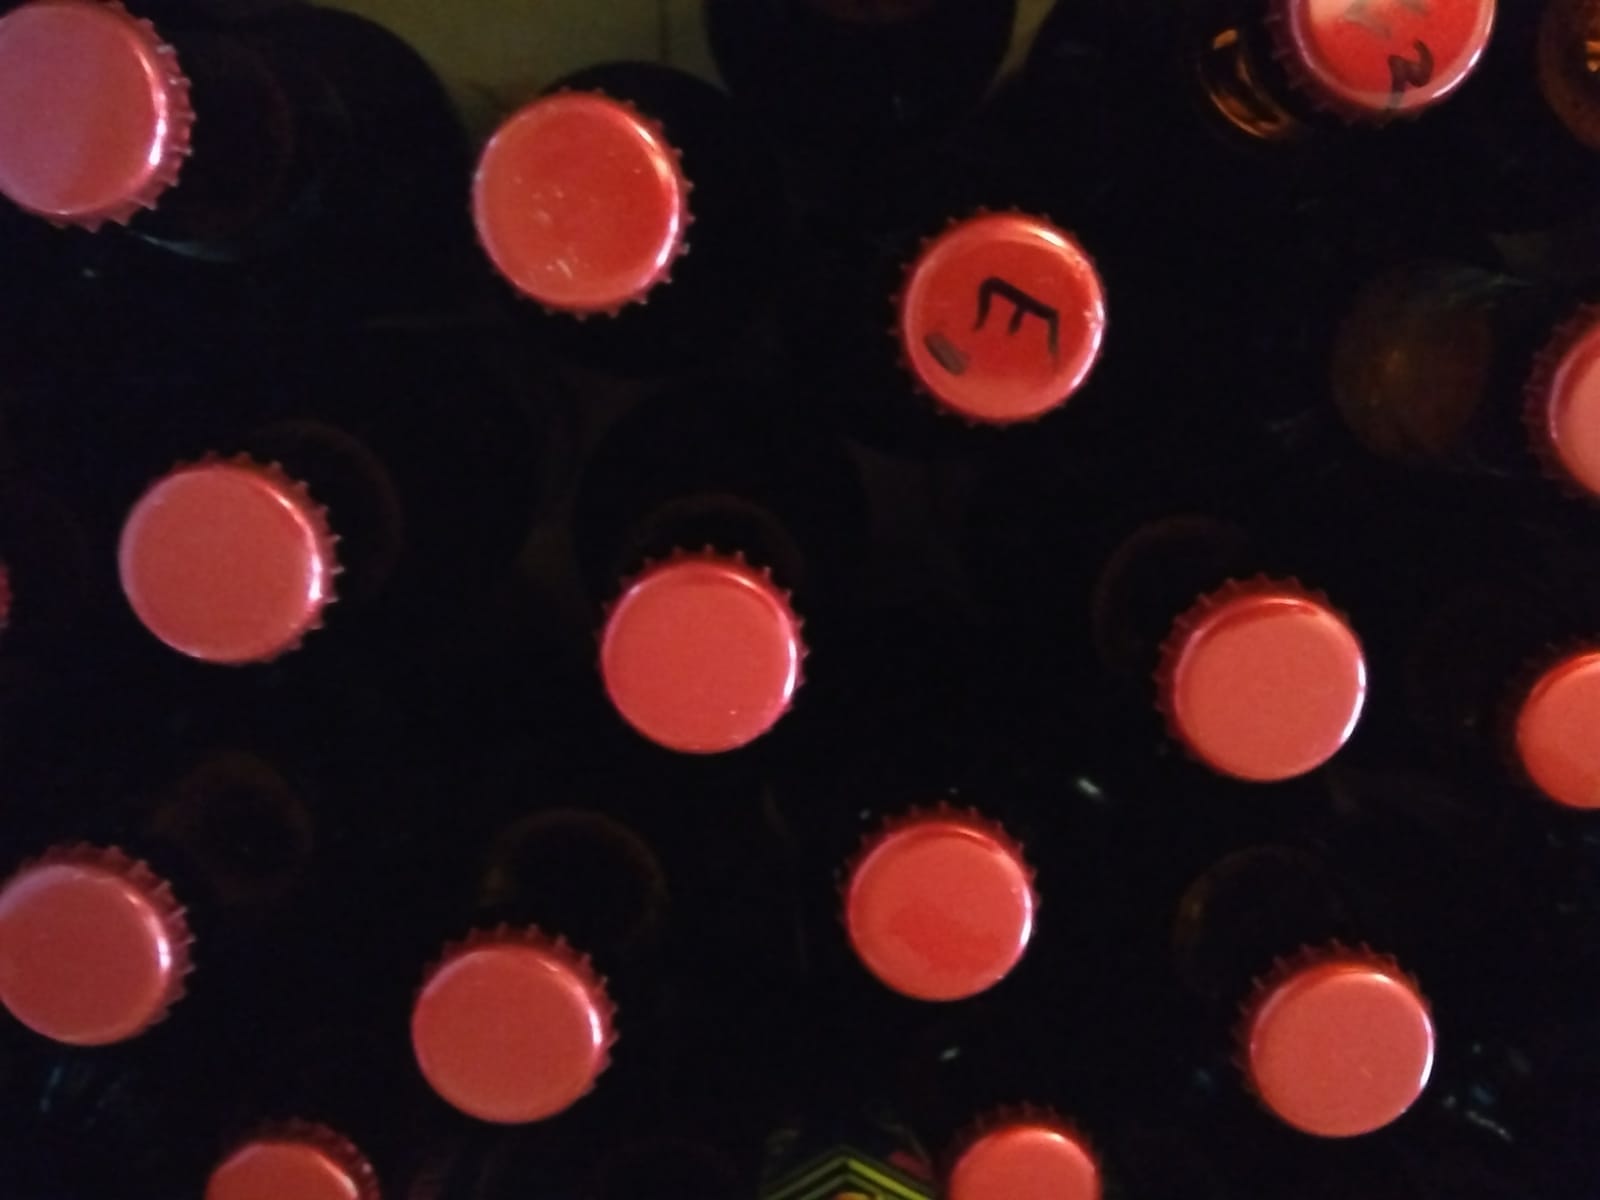
About 40 bottles, actually.

MORE BEER!

Okay, we’re not quite ready. We need to give the yeast another week or two for the final fermentation. After a quick taste of the almost-beer, I kind of hope those two weeks will change the taste (and the bubbliness) because for now, it tasted quite bland.

In addition, our special gravity measurement – which gives an indication of sugar content and can be used to estimate the alcohol content by comparing with the original value – wasn’t very promising. Our beer seems to be less than 3%.

But we’re not giving up hope yet! In two weeks, we’ll see what the final product is. I’ve also read that a few weeks of extra “ripening” can help with the taste as well. And we can always give brewing another go, keeping in mind what we’ve learned so far.

Brewing for beginners – Part II

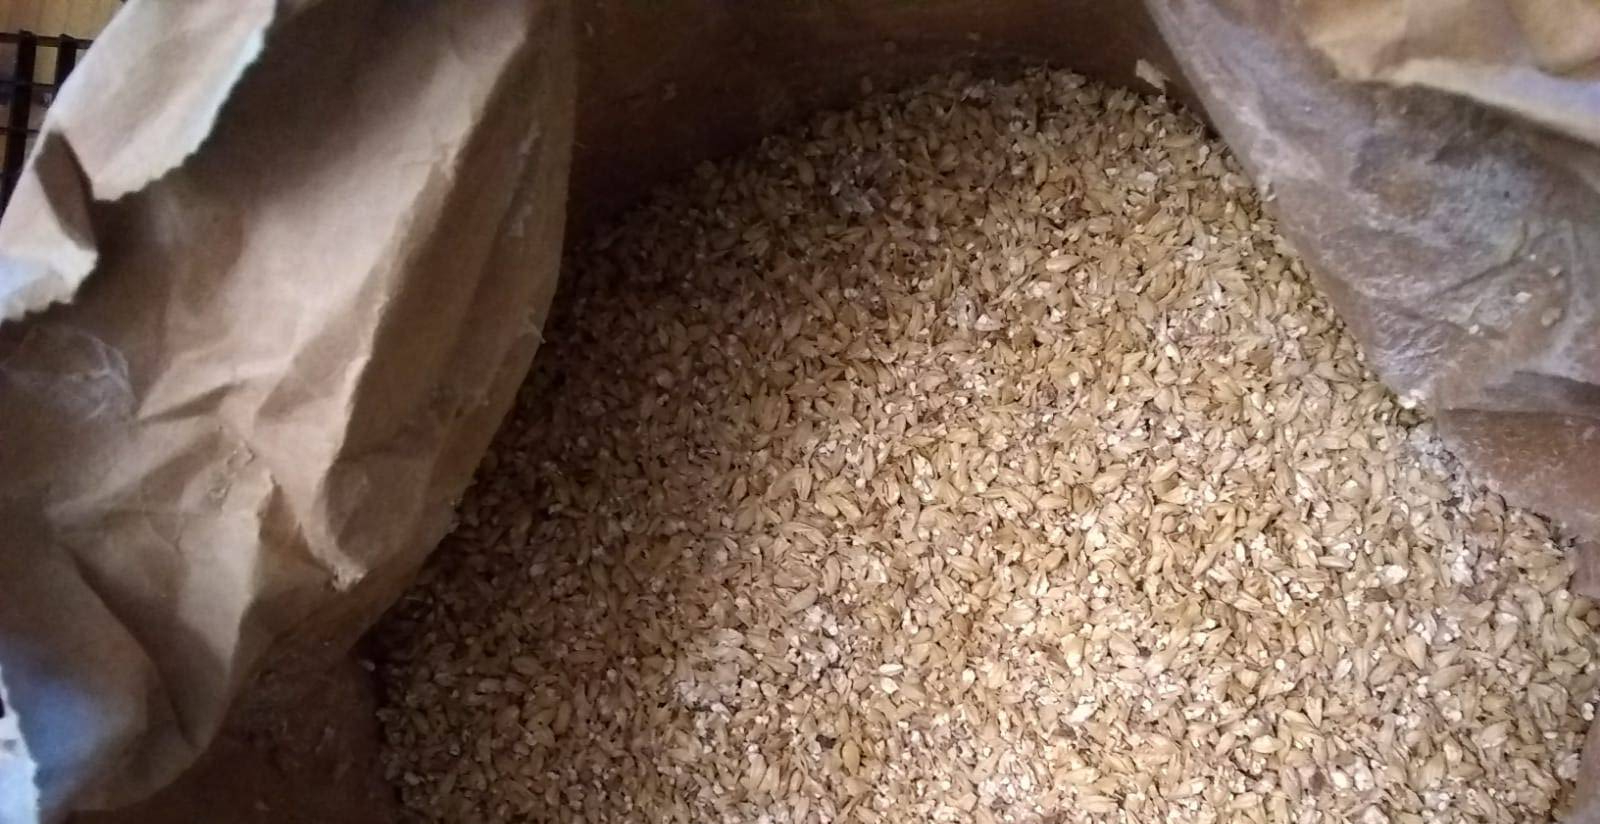
A bag of ground down grain.

Fermentation for beginners

While we’re waiting for the yeast to do its thing, it may be useful to learn about what exactly fermentation is. Fermentation. You’ve heard it before, in the context of beer or kimchi or sourdough bread (or in a biochemistry class). But what does it mean? And why isn’t yogurt alcoholic?

Briefly, fermentation is a biochemical process where tiny organisms break down a complex molecule, such as starches or sugars, into a simpler molecule, an acid or an alcohol, while making some energy. This happens in an anaerobic environment – meaning it does not require oxygen. This contrary to aerobic processes, like what we humans do most of the time when we want to convert sugars into energy.*

Yeasts and bacteria are the two types of organisms that do this sugar breakdown. There are three different types of fermentation, depending on the end product.

  1. In a lot of cooking, we use lactic acid fermentation. In this case, the yeast or bacteria convert starches or sugars into lactic acid. Think kimchi, sauerkraut or pickles, but also yogurt and sourdough bread.
  2. To make alcohol, however, you want to be aiming for ethyl alcohol fermentation. The sugars get converted into ethanol (the alcohol part) and CO2 (the bubbly part). Bakers yeast is also an ethyl alcohol fermenter: there is no real ethanol left in your final bread, but the CO2 production is what helped your dough to rise.
  3. Finally, there is acetic acid fermentation. In this type of fermentation, sugars from grains or fruit are converted into acids. This is what makes vinegar.

Certain microorganisms are better at certain types of fermentation. That is why it is very crucial that the wort does not get contaminated by outside yeasts or bacteria: you only want the alcohol-making types, not the acid-making types. Unless you want to make a sour, that is.

It is also why, to make a sourdough starter, you just leave some sugars (starches actually to be more precise, in the form of some flower in water) out on the counter. The bacteria and yeasts floating around in the air are the ones you want for lactic acid fermentation – and to start up a sourdough culture.

Controlling the rate of fermentation and end products is a balance between making sure you have the right microorganisms (not all yeasts like being in alcohol – let alone making alcohol), balancing the water and sugars (is there enough food?), controlling the temperature (we prefer certain temperature, so to microorganisms) and waiting the right amount of time. That’s why fermentation is a bit of a science and also a bit of cooking. Though science and cooking are actually very similar to start with.

So to recap, fermentation is a process where yeasts and bacteria convert starches and sugars into alcohol and/or acids, with some by-products. And yogurt isn’t alcoholic because the milk-loving bacteria are lactic acid fermenters, not alcohol fermenters.

Beer update: checking in one day later

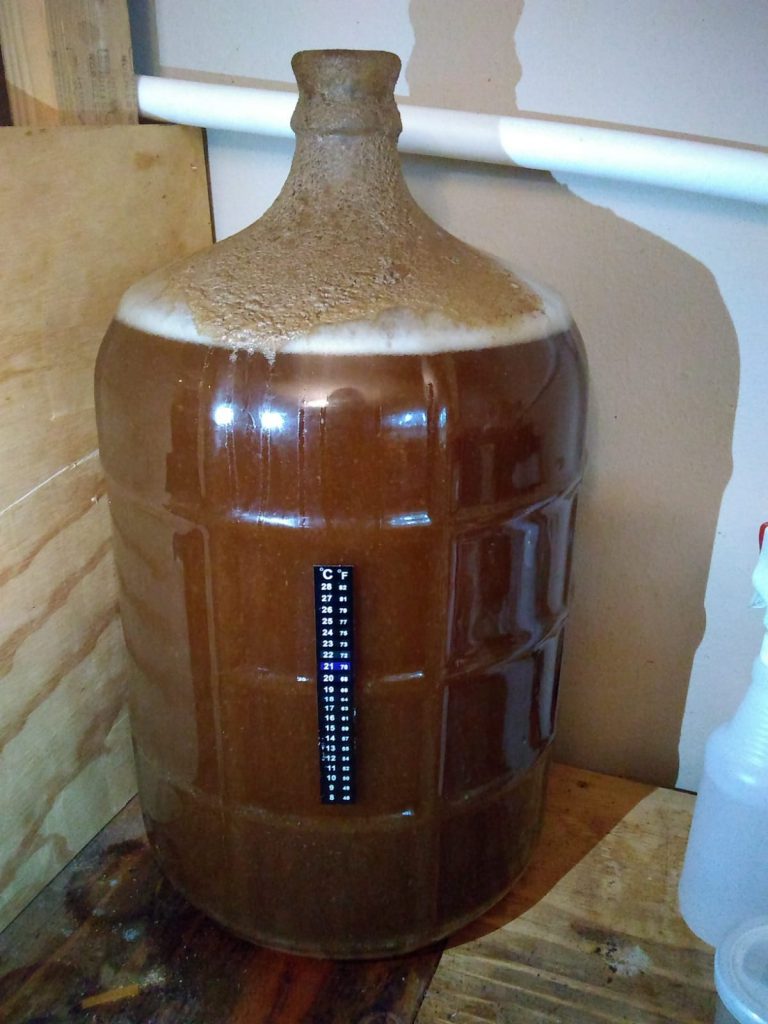
Disaster has struck. We left the fermenter for one day and came back to this mess:

The fermentor with the stop off, the top is covered by dried foam and it doesn't look great.
Kind of gross and gunky

We had filled up the container too much, so once the yeast started munching away at the sugars, the extra build-up of foam caused the stop to come off. Oh no.

So we needed to clean up. We also siphoned out some of the liquid to avoid this from happening again. Hopefully, we did not expose the beer to external oxygen and yeasts and all during this process…

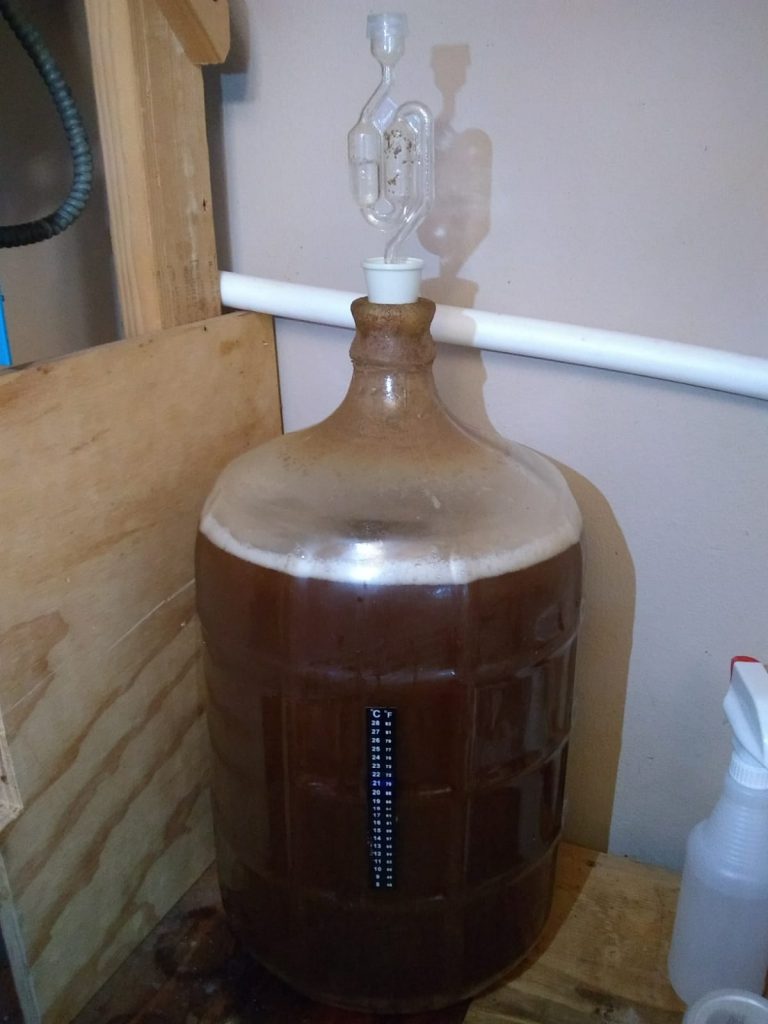
We put the S-stop back on the fermenter. This ensures that no gasses can come in, while gasses can go out. During fermentation, glucose (which is sugar) gets converted into alcohol and CO2. The latter is a gas and needs to go somewhere, so we let it go out.

The fermentor with the S-stop on top, all cleaned up now!
All set up again, looking healthy
A gif of the CO2 flowing out of the S-stop. Gas bubbles out about once a second.
Bloop bloop bloop

This was last Monday. Since then, there seems to have been very little activity in the fermenter. The good news is that everything smells quite nice and beer-ferment-like, not sour, so we will move to STEP 7 sometime in the next few days: bottling!


Source:
https://eatcultured.com/blogs/our-awesome-blog/fermentation-the-basics

We’re making a Northern Brown according to this recipe: https://www.brewersfriend.com/homebrew/recipe/view/564492/northern-nh-brown

Recommended reading: How to Brew


*I say most of the time because when we get muscle cramps, this is because we’ve been working too hard without providing our cells with enough oxygen to do aerobic respiration (the oxygen-needing-kind). In that case, our cells go into anaerobic respiration, which is very similar to fermentation actually. The result of anaerobic respiration is lactic acid (hey – go back and read about how that’s one type of end product for fermentation!) and some quick energy for your cells to use in the form of ATP. Anaerobic respiration is less efficient than the aerobic kind, but it can get us some quick energy in a pinch.

Source for little factoid is that one episode of the Magic School Bus that I remember where Ms. Frizzle was doing a triathlon and her muscles started producing lactic acid so the students – who were obviously in a mini school bus inside Ms. Frizzle (where else?) – let out the air of the tires so her muscles would have oxygen.

Brewing for beginners – Part I

Last weekend, we started brewing. Not ideas (though we have a ton of those), but beer. As this is a first for me, I decided to document the process so I can learn from the likely many mistakes we’ll very definitely be making. And learning some beer science along the way. There are worse things.

Step 1: The Prep

I cheated a little bit here… My brewing partner-in-crime had done most of the preparation beforehand – like buying the grains and all the kit for home-brewing. We biked out to a home brew shop to get the grain milled and buy the last bits of supply, most notably the yeast.

Grain going through the mill
This makes me feel like Amélie – I want to put my hand in (but probably shouldn’t).

With our newly ground grain (apparently this is called grist and it smelled deliciously sweet), we biked back home and started cleaning everything. Beer is a product of fermentation: yeasts break down the sugars in the grain and turn them into alcohol. To get a good tasting beer, you want to make sure that only the beer-making-yeast is doing the fermenting and that all other types of yeast and bacteria are far, far away from your beer.

Hence, we cleaned and sanitized all the equipment. Thoroughly. And then again.

Step 2: Making the mash

Did you know that beer is basically just fermented grain-tea? Not that different from Kombucha tea actually – just not associated with a current health craze. The first step to making beer is soaking the grist in hot water to extract all the sugars that will be later fermented. This is called mashing.

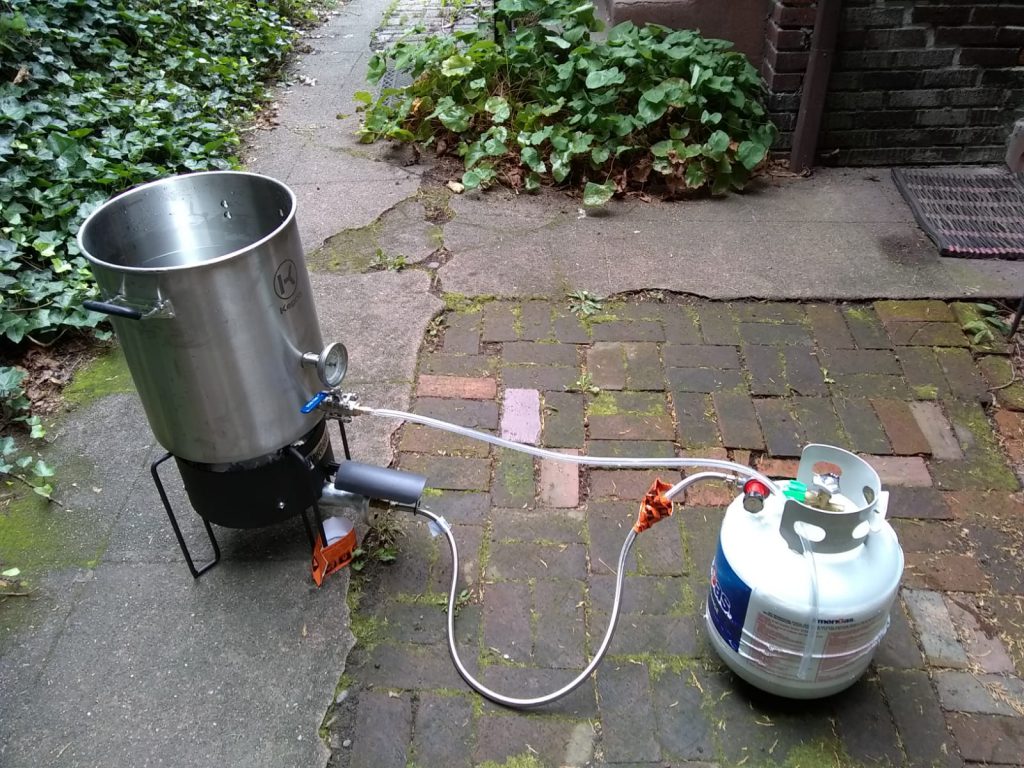
We set up the boiling pot outside, ready for curious onlookers to wonder what we were cooking up.

The set up outside: a propane fire with a giant pot.
We’ve come a long way from smouldering cauldrons in witches’ lairs.

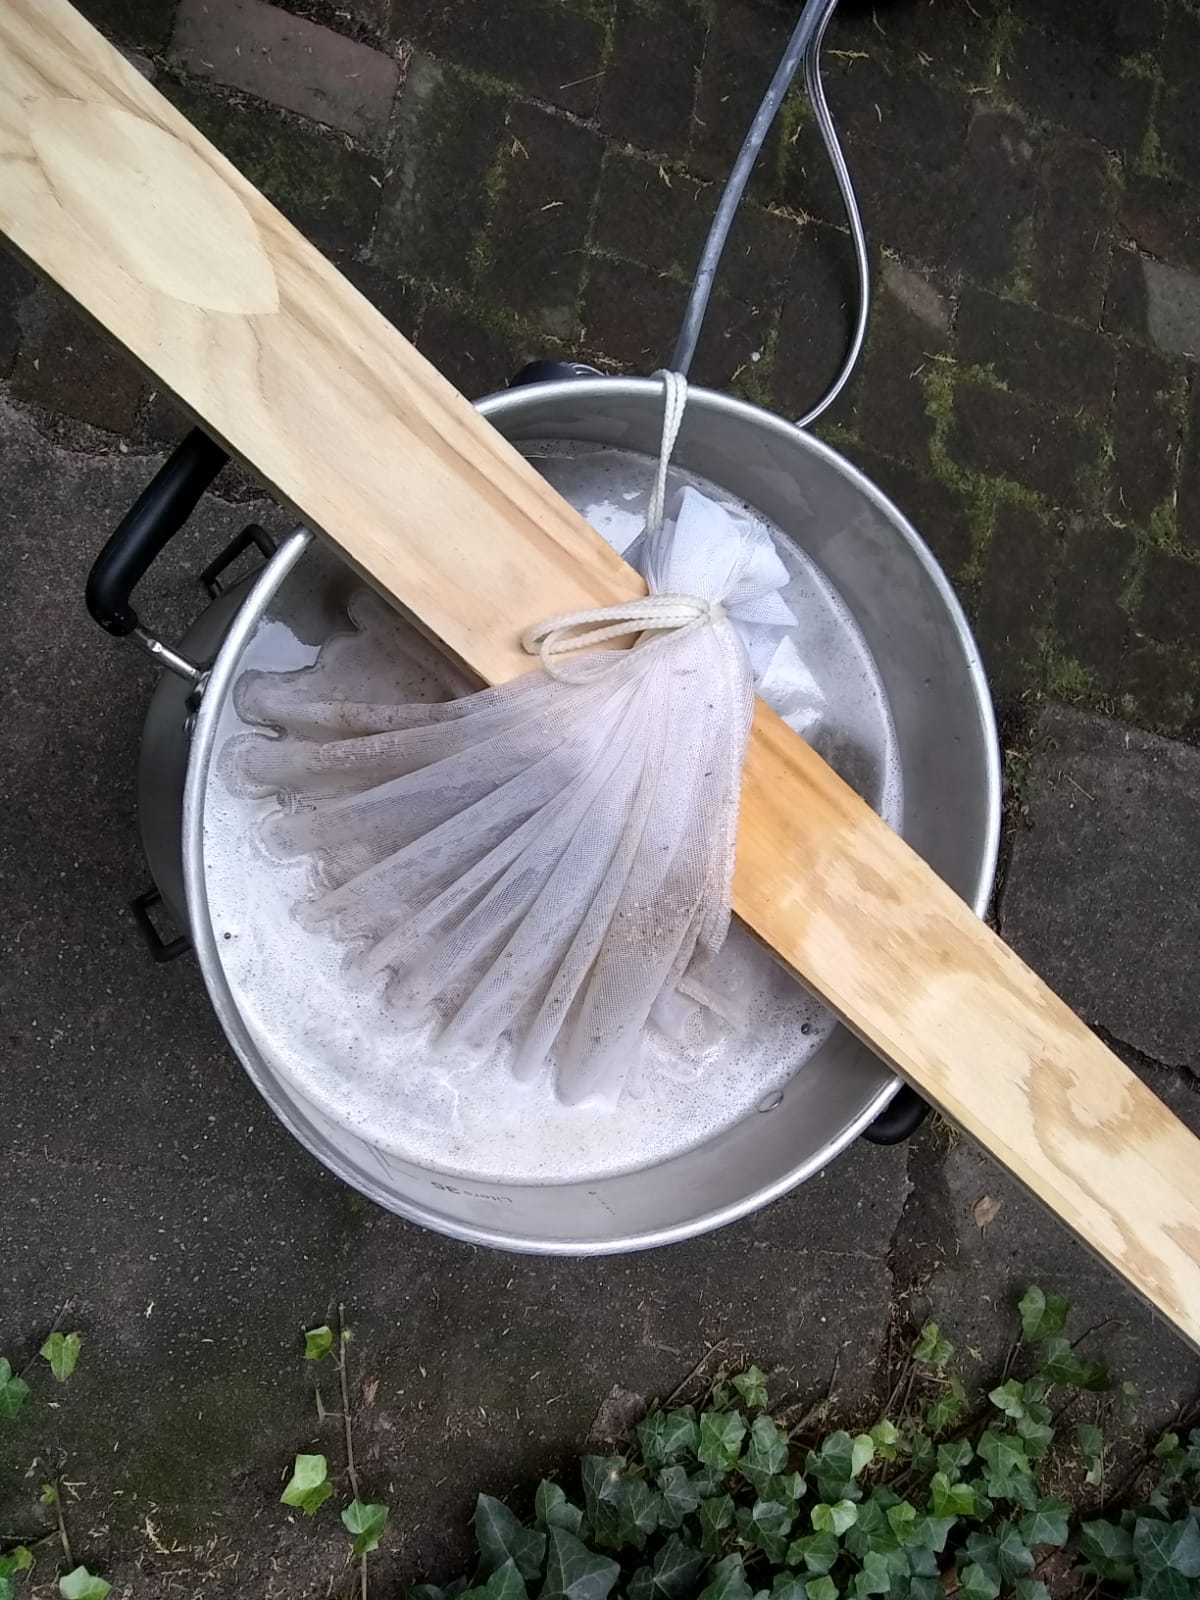
We filled the pot with about 30 L (7.3 gal) of water and heated it up to ~ 75°C (~ 170F). We didn’t want the water to boil, like with green tea, if the water is too hot you get a lot of bitter tastes and we want all the sweet sugars to seep out. In this pot, we then dunked a giant teabag filled with the grist (~ 4 kg/ 9.25 lb of the stuff).

A bag of grain dunked into the pot of water.
Dunk dunk dunk

After an hour, our tea was ready. A little taste confirmed that we had made grain tea – more correctly known as wort. A little squeeze of the bag, and out it went. We added a little bit of brown sugar (170 g / 0.375 lb), just to make sure there’d be enough sweet stuff for the yeast to eat. [I initially wrote “yeat to yeat”. Help.]

We then measured the specific gravity of the wort. This would give us an indication of how much sugar (more sugar = higher specific gravity) we were starting out with, important to figure out how alcoholic the end result will be.

We were ready for the next step.

Step 3: Hopping the wort

On paper, beer is quite simple. You have water, grain, yeast, and hops. Mix them together in the right way, and you get beer!

The next step in our process was adding the hops – without a bit of a hoppy flavor, no beer! We heated up our water to a boil (> 100°C / 212 F) reused the tea-bag-thing, filled it with our first type of hop (12.5 g / 0.44 oz of Northern Brewer). After 45 minutes of simmering, we added the second type of hop (28 g or 1 oz of Fuggles – who names these things?) and Whirlfloc, which is a tablet containing Irish Moss and Kappa Carrageenan and makes sure your beer doesn’t get too hazy.

A bag of hops dunked into boiling water, froth has formed on the top.
Boiling the frothy goodness

15 minutes more of boiling and we removed the bag, and got ready for cooling. A quick taste of the liquid proved that it already sort of tastes like beer. There’s some sweetness, some hoppiness, some bitterness but it’s also flat and lukewarm. British Ale much?

Step 4: Cooling

Yeast works best at a certain temperature. Too cold and the metabolism slows down, leading to less efficient sugar-to-alcohol conversion. Too hot and the yeast just sort of dies.

To cool the wort to a yeastly comfortable temperature of 25°C (or 77F), we put an immersion chiller into the pot. An immersion chiller is a coil of copper tubes, through which we ran cold water. It took a while (and I was making bagels in the meantime, to be honest, because brewing is a lot of waiting), but we made it. We then transferred the now cool wort – which needs to have as little contact with air as possible because like the good yeast, the bad stuff also really likes this temperature – to the fermentation container. I can tell you that it already smelled like a brewery in the kitchen – which totally makes sense because we were doing just that: brewing.

Moving the wort to the fermentation vessel
Let it flooooow….

Step 5: Adding the yeast

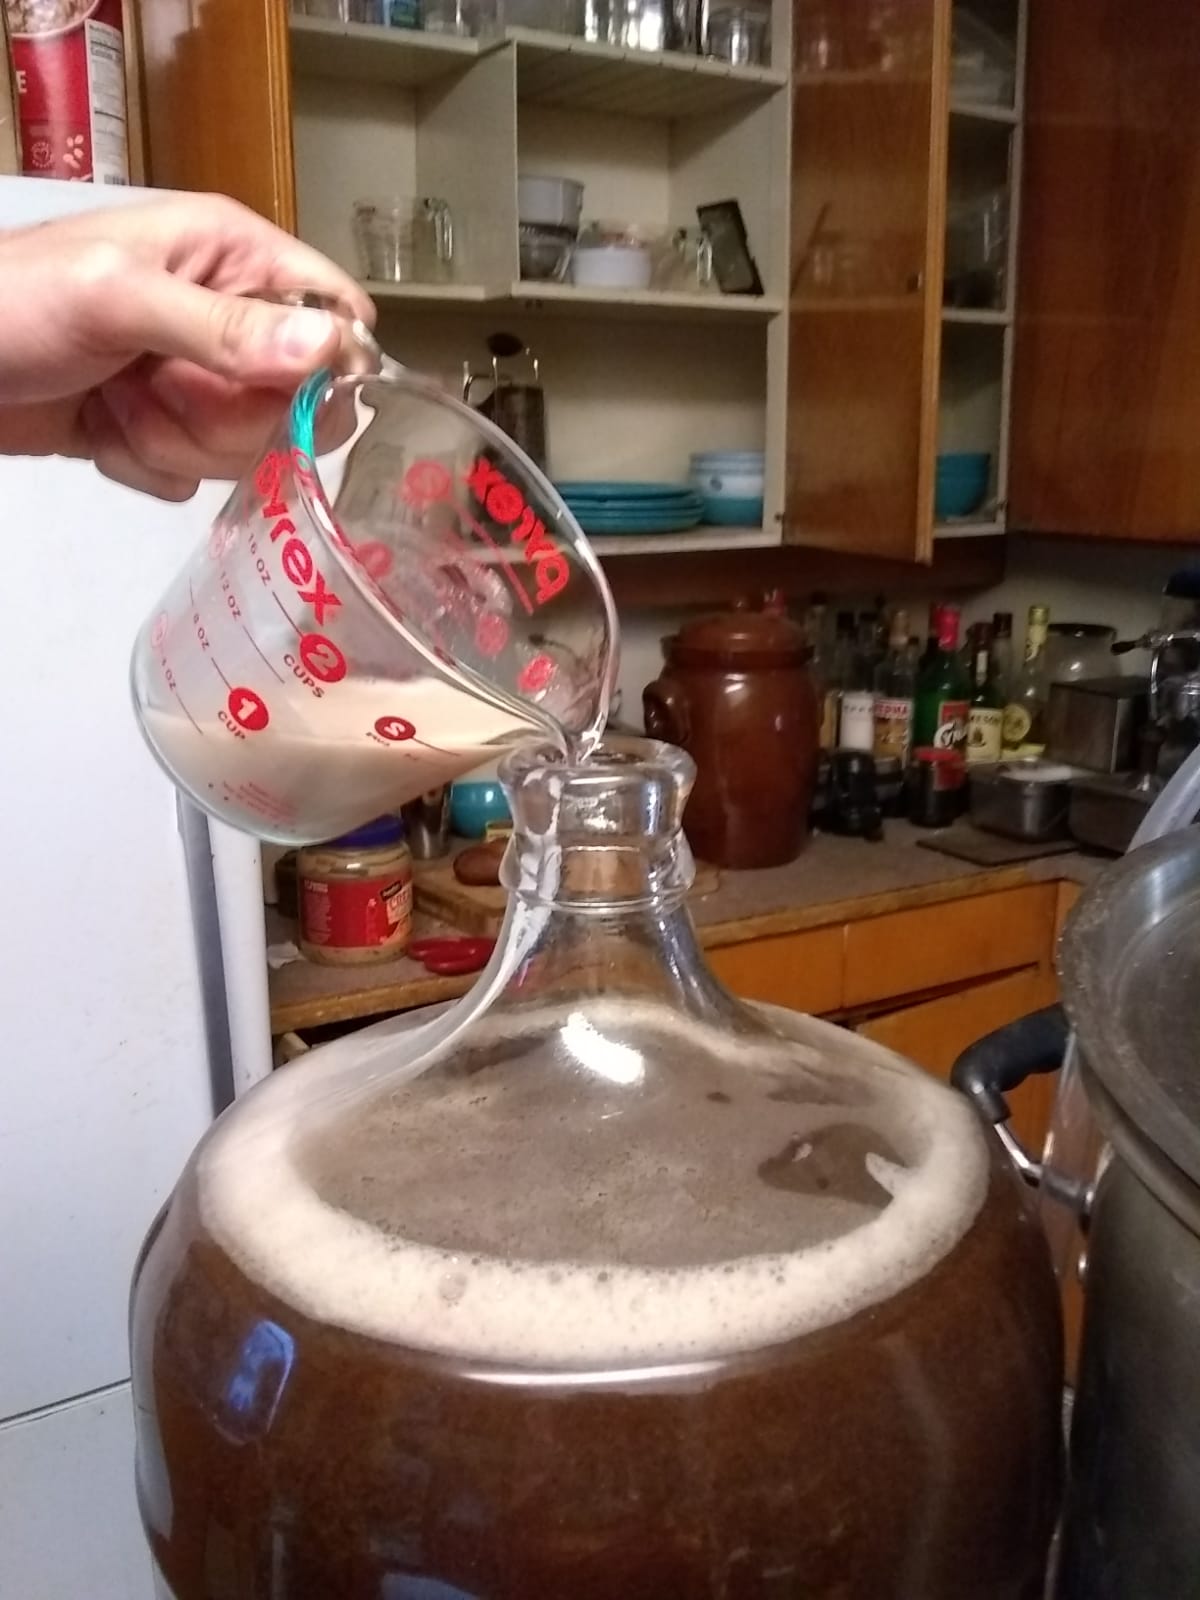
We had already prepped the yeast by adding it to some lukewarm water, now it was ready to be added to the wort. Which we evidently did.

A hand pouring a measuring cup with yeast into the fermentator.
Carefully pouring the yeast into the fermentation bottle – the final step to prep!
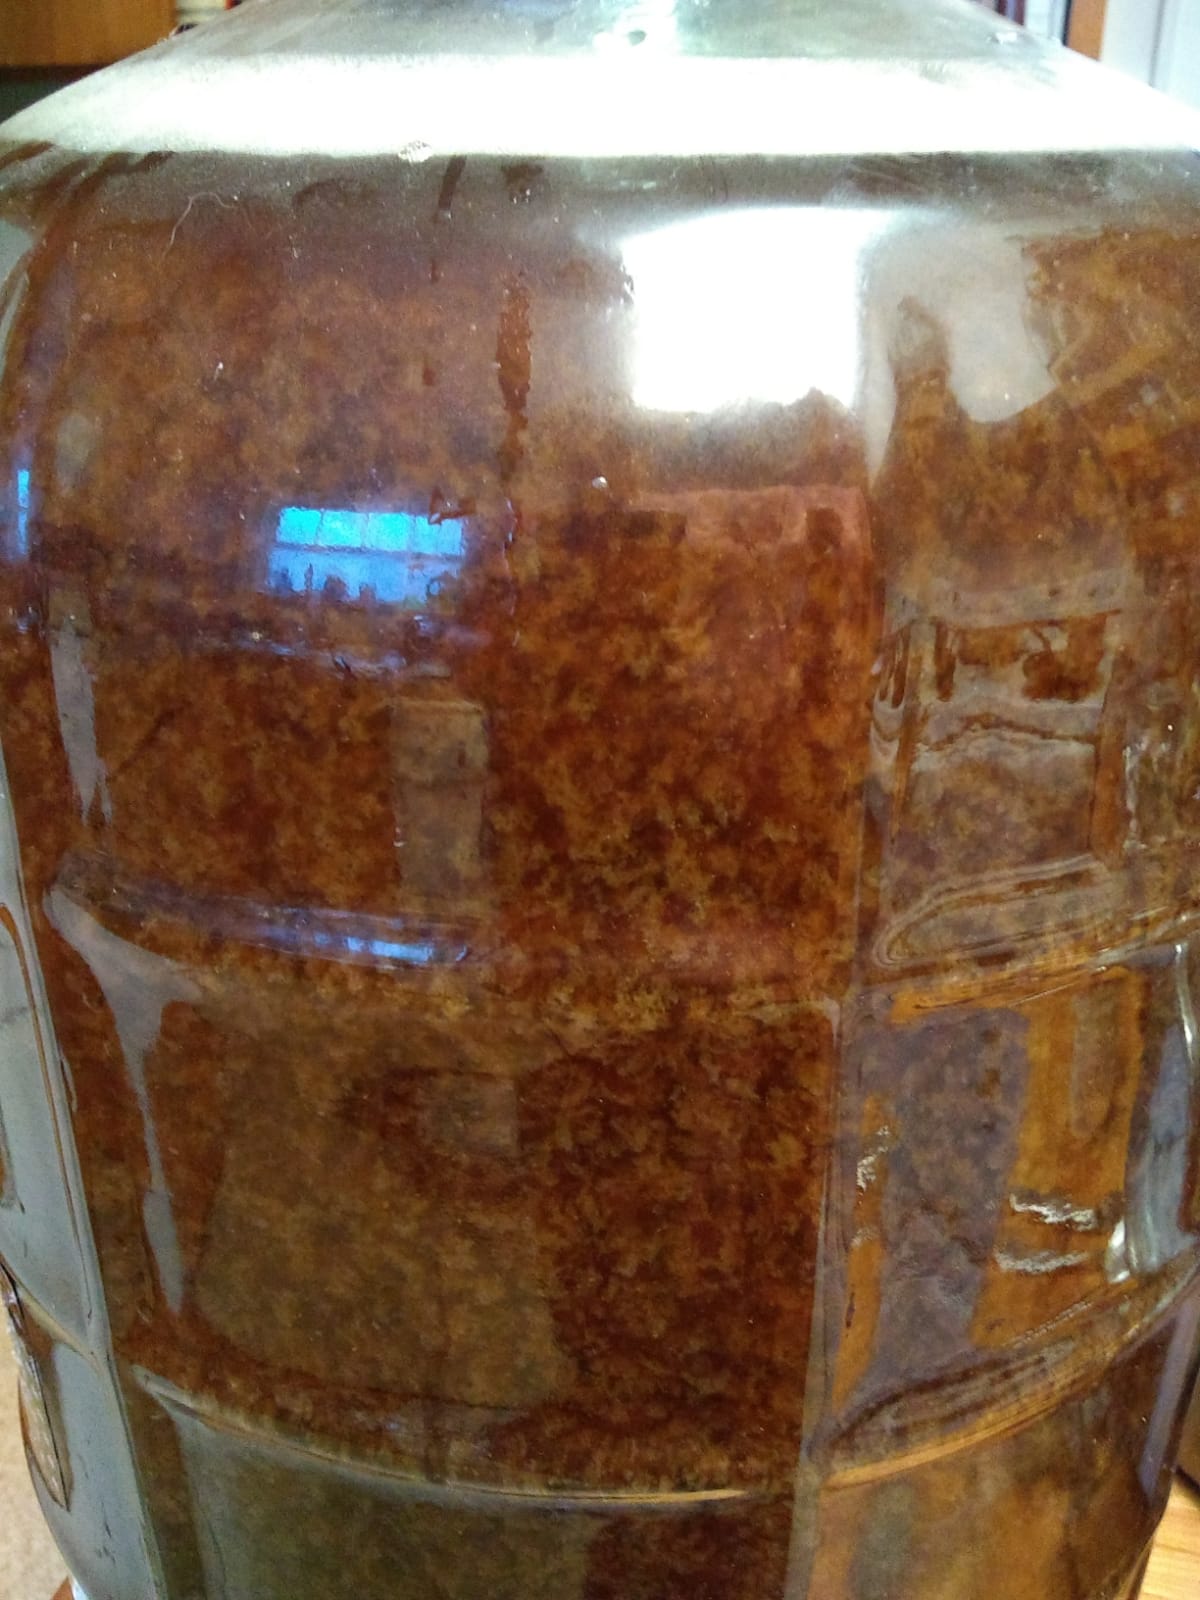
A view of the fermentation bottle with wort and flocks of yeast
THIS LOOKS SO COOL!

Step 6: Now we wait

We’re trying to keep the fermentation vessel at a constant temperature and keep any extra oxygen out. But other than that, there is nothing to do but wait. Updates will come soon, likely to tell you how it all went wrong. Maybe not.

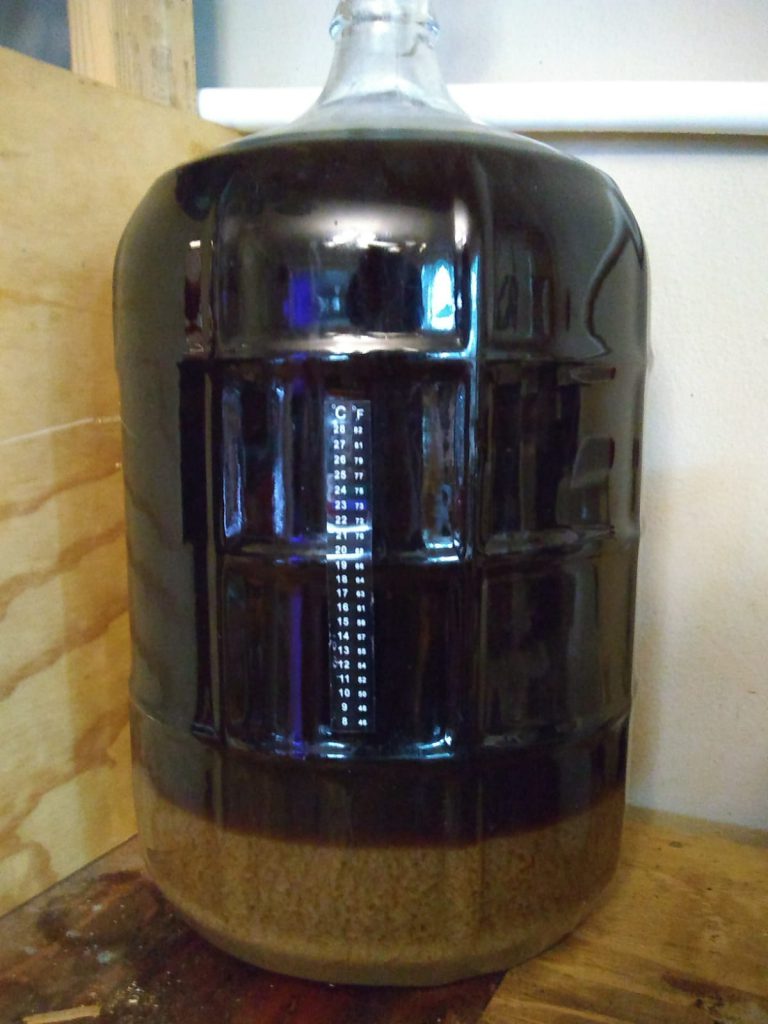
Fermentation vessel with yeast
Yeast on the bottom of me, wort on the top; here I am, ready to brew…

Disclaimer: as with many things, I have no idea what I’m doing. This is not meant as an extensive guide to home brewing, but just as a general walk-through of my first attempt at brewing.

Our recipe: https://www.brewersfriend.com/homebrew/recipe/view/564492/northern-nh-brown

Recommended reading: How to Brew