
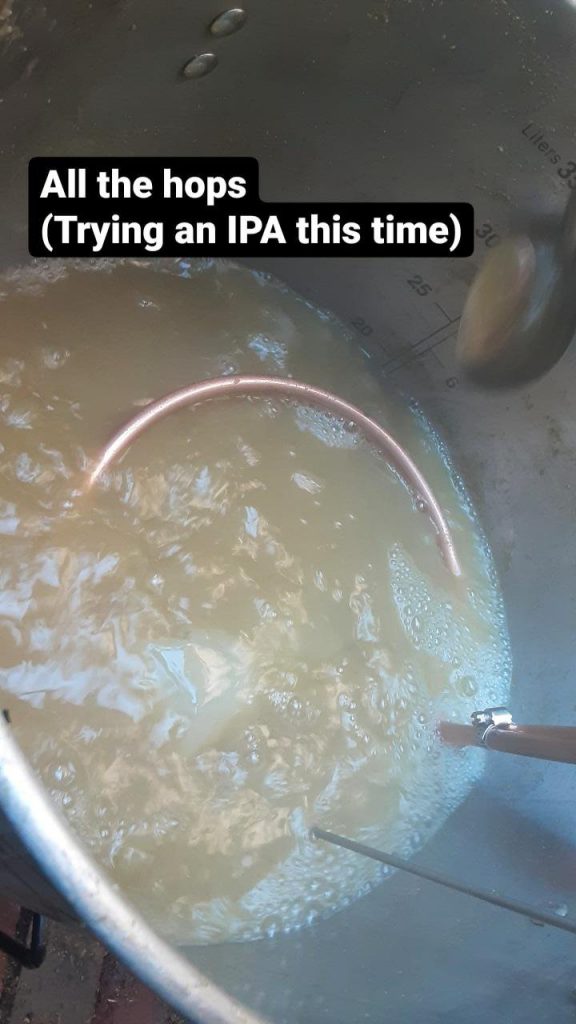
After some time – you’d think that a pandemic would be an excellent time to do some more brewing but that didn’t seem to happen – we have decided to make another attempt at brewing our own beer. Batch 3 has not been documented (it was a brown ale that had that slightly too much Irish moss in it, making it an excellent drink for singing sea shanties or while sitting at a beach), but I made sure to keep track of our summer 2021 brew: a “Hazy Juicy IPA.” Our recipe is mostly based on this Hazy Juicy IPA recipe on brewersfriend.com, with some minor modifications due to availability.
Because, we do live in Seattle, the capital of beer [citation needed], with an average of 12 available IPAs in any given brewery [citation needed].
You can find a more step-by-step walkthrough in our first brewing experiment, so I will not repeat all the steps, but rather document some key changes we made since the last time!
Brewing for Beginners – Part 1 for the making of the wort
Brewing for Beginners – Part 2 for an update on the fermentation
Brewing for Beginners – Part 3 for the bottling process
Brewing for Beginners – Part 4 for the best part of all: tasting!
Day 0: aquiring the materials
Here’s some insight into our brewing process: the first step is biking over to the homebrew supply store to acquire some ingredients, and most excitingly, watch a whole lot of grains get milled up.
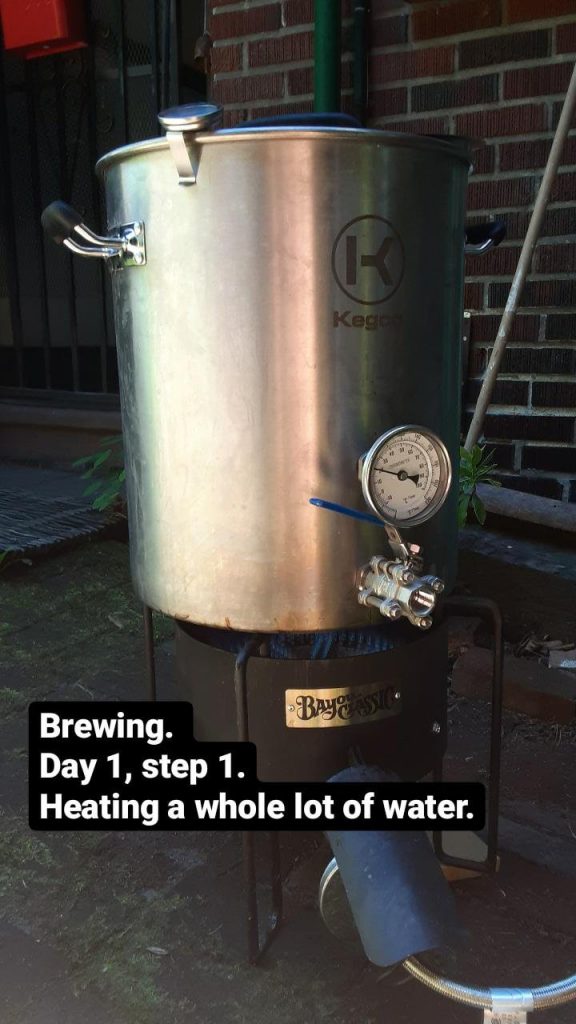
Day 1: Making grain soup
For once, we did not make the mistake of trying to do the beer-shopping and beer-brewing on the same day. Otherwise, the steps were pretty straightforward, except that we had learned that keeping things at temperature is not that important and that we could hang out and be pretty chill about things.

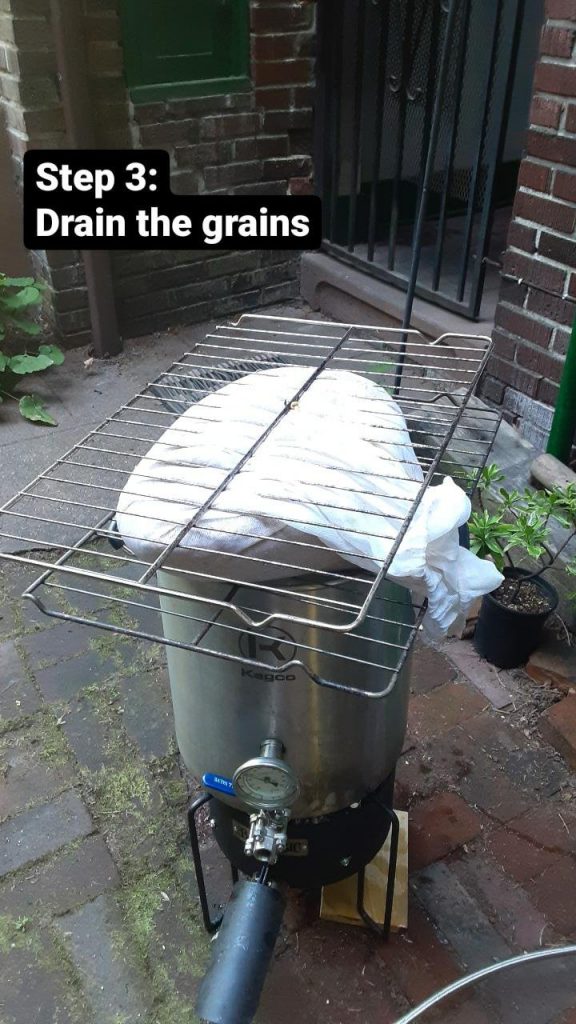
Extra note: we also learned that the leftover grain mush, especially the part that had a lot of oats, is quite delicious for breakfast!
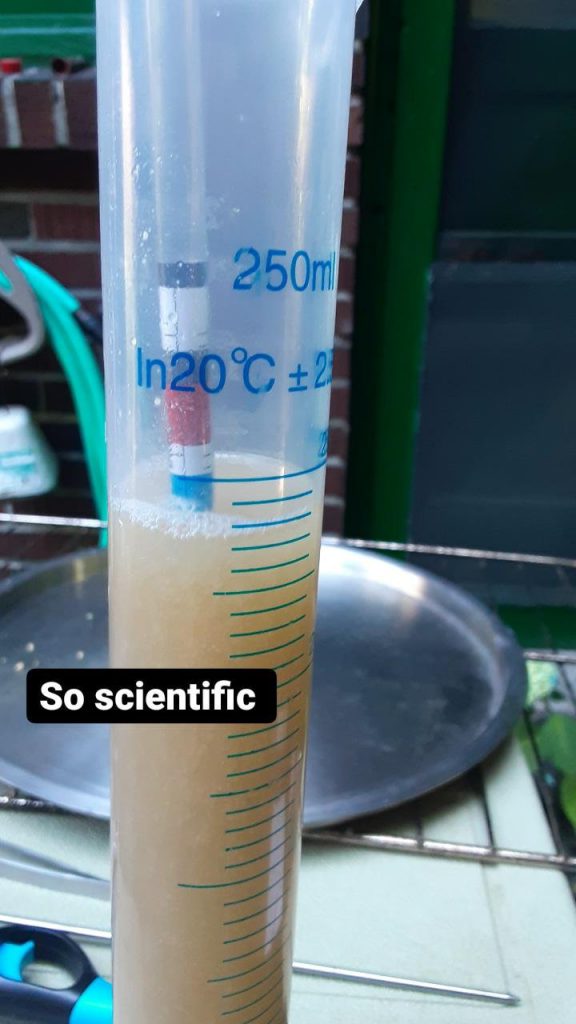

And now for the best part:
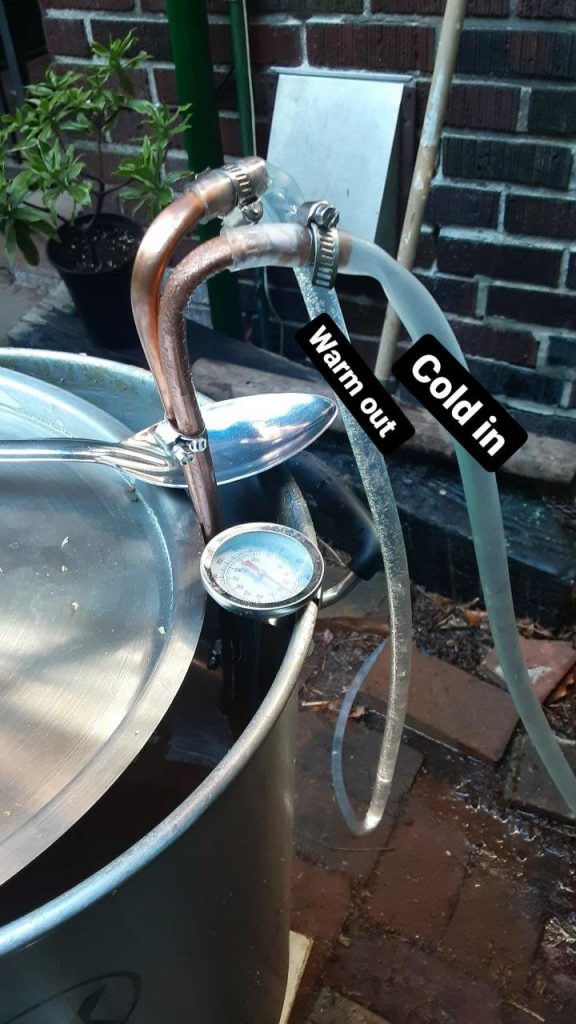
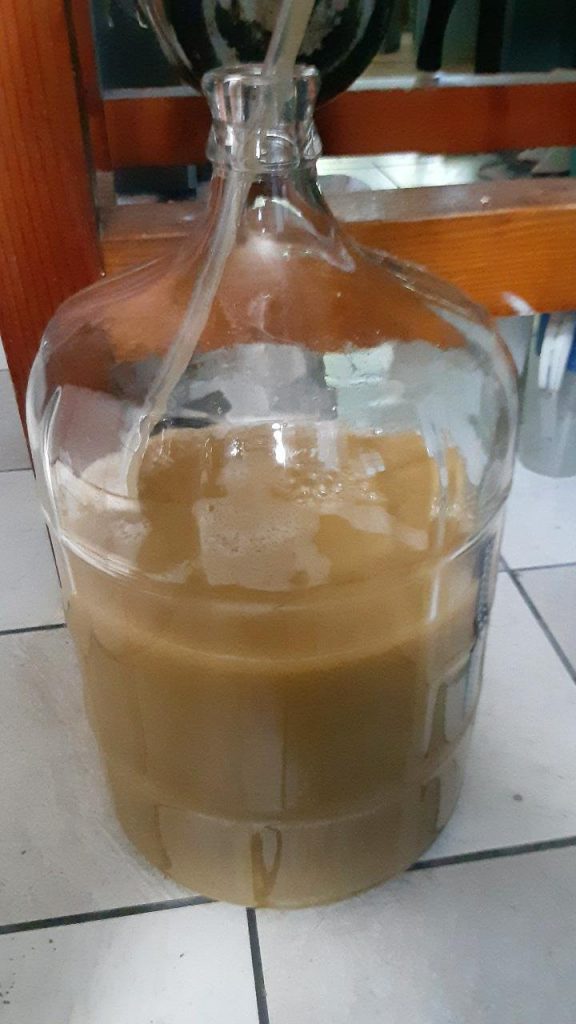
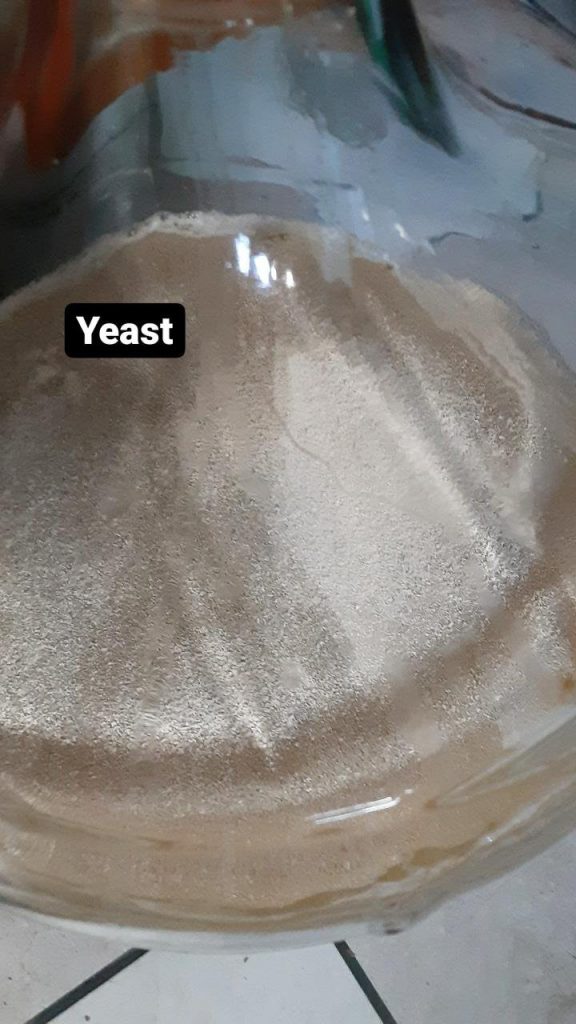
During this round, we tried to keep the carboy at a lower temperature, especially because Seattle was going through an unprecedented heatwave, not ideal conditions for brewing yeast. We had the carboy sitting in a bath of water where we occasionally threw in some ice. Other than that, things just went a lot smoother than the last 3 times, mostly because we made sure to take the time, let everything cool down enough, and were better prepared…
Day 3: Two weeks later…
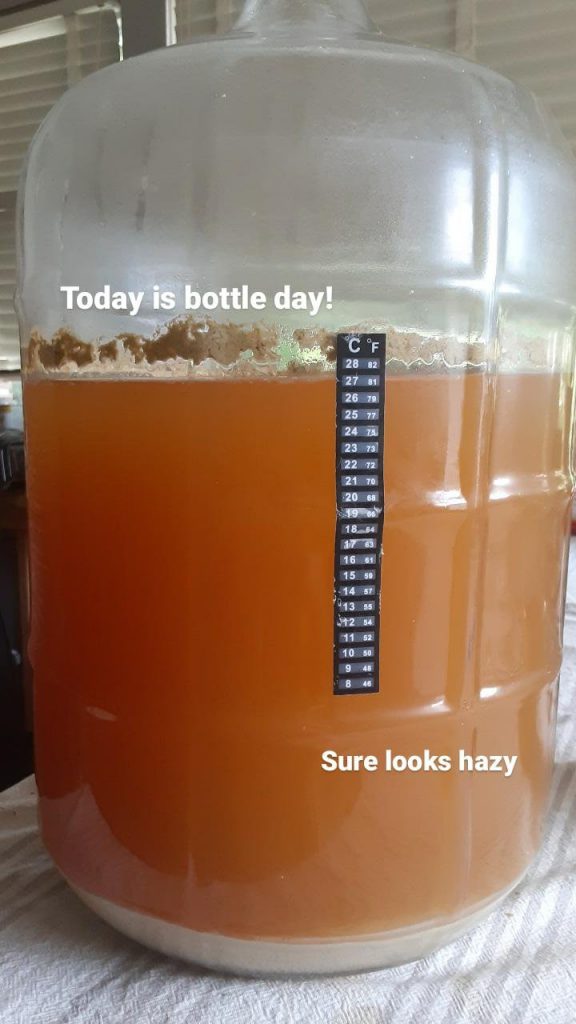
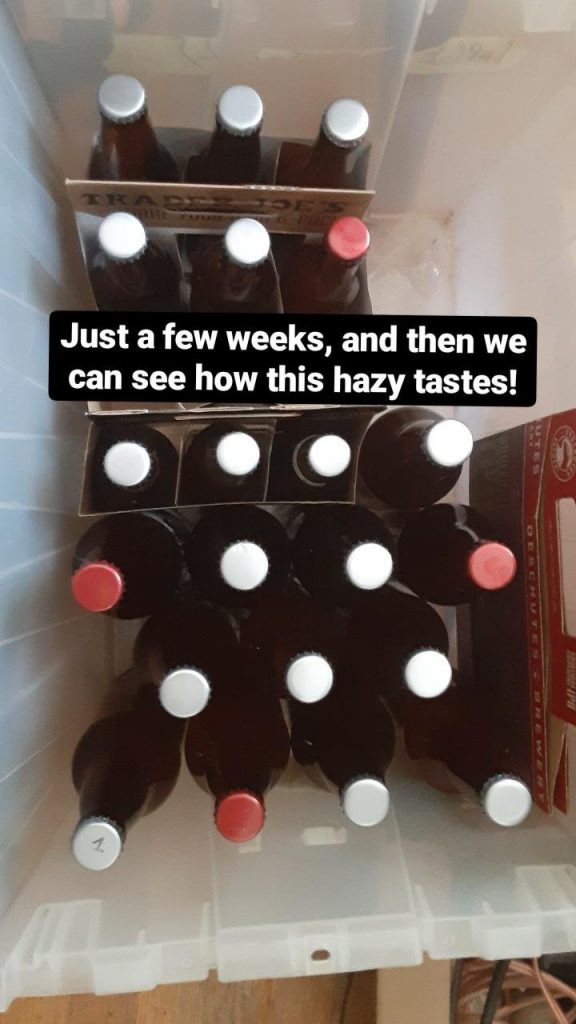
We forgot to take the specific gravity measurement, but the beer sure smelt hoppy, and tasted pretty good two (considering it’s not carbonated yet), so fingers crossed we have a good batch! Check in for a first-taste-update in two weeks or so!